
Week 1 project management
Objectives
- Build a personal site.
- Learn about gitlab and watch tutorials.
- Finding a final project
Project management
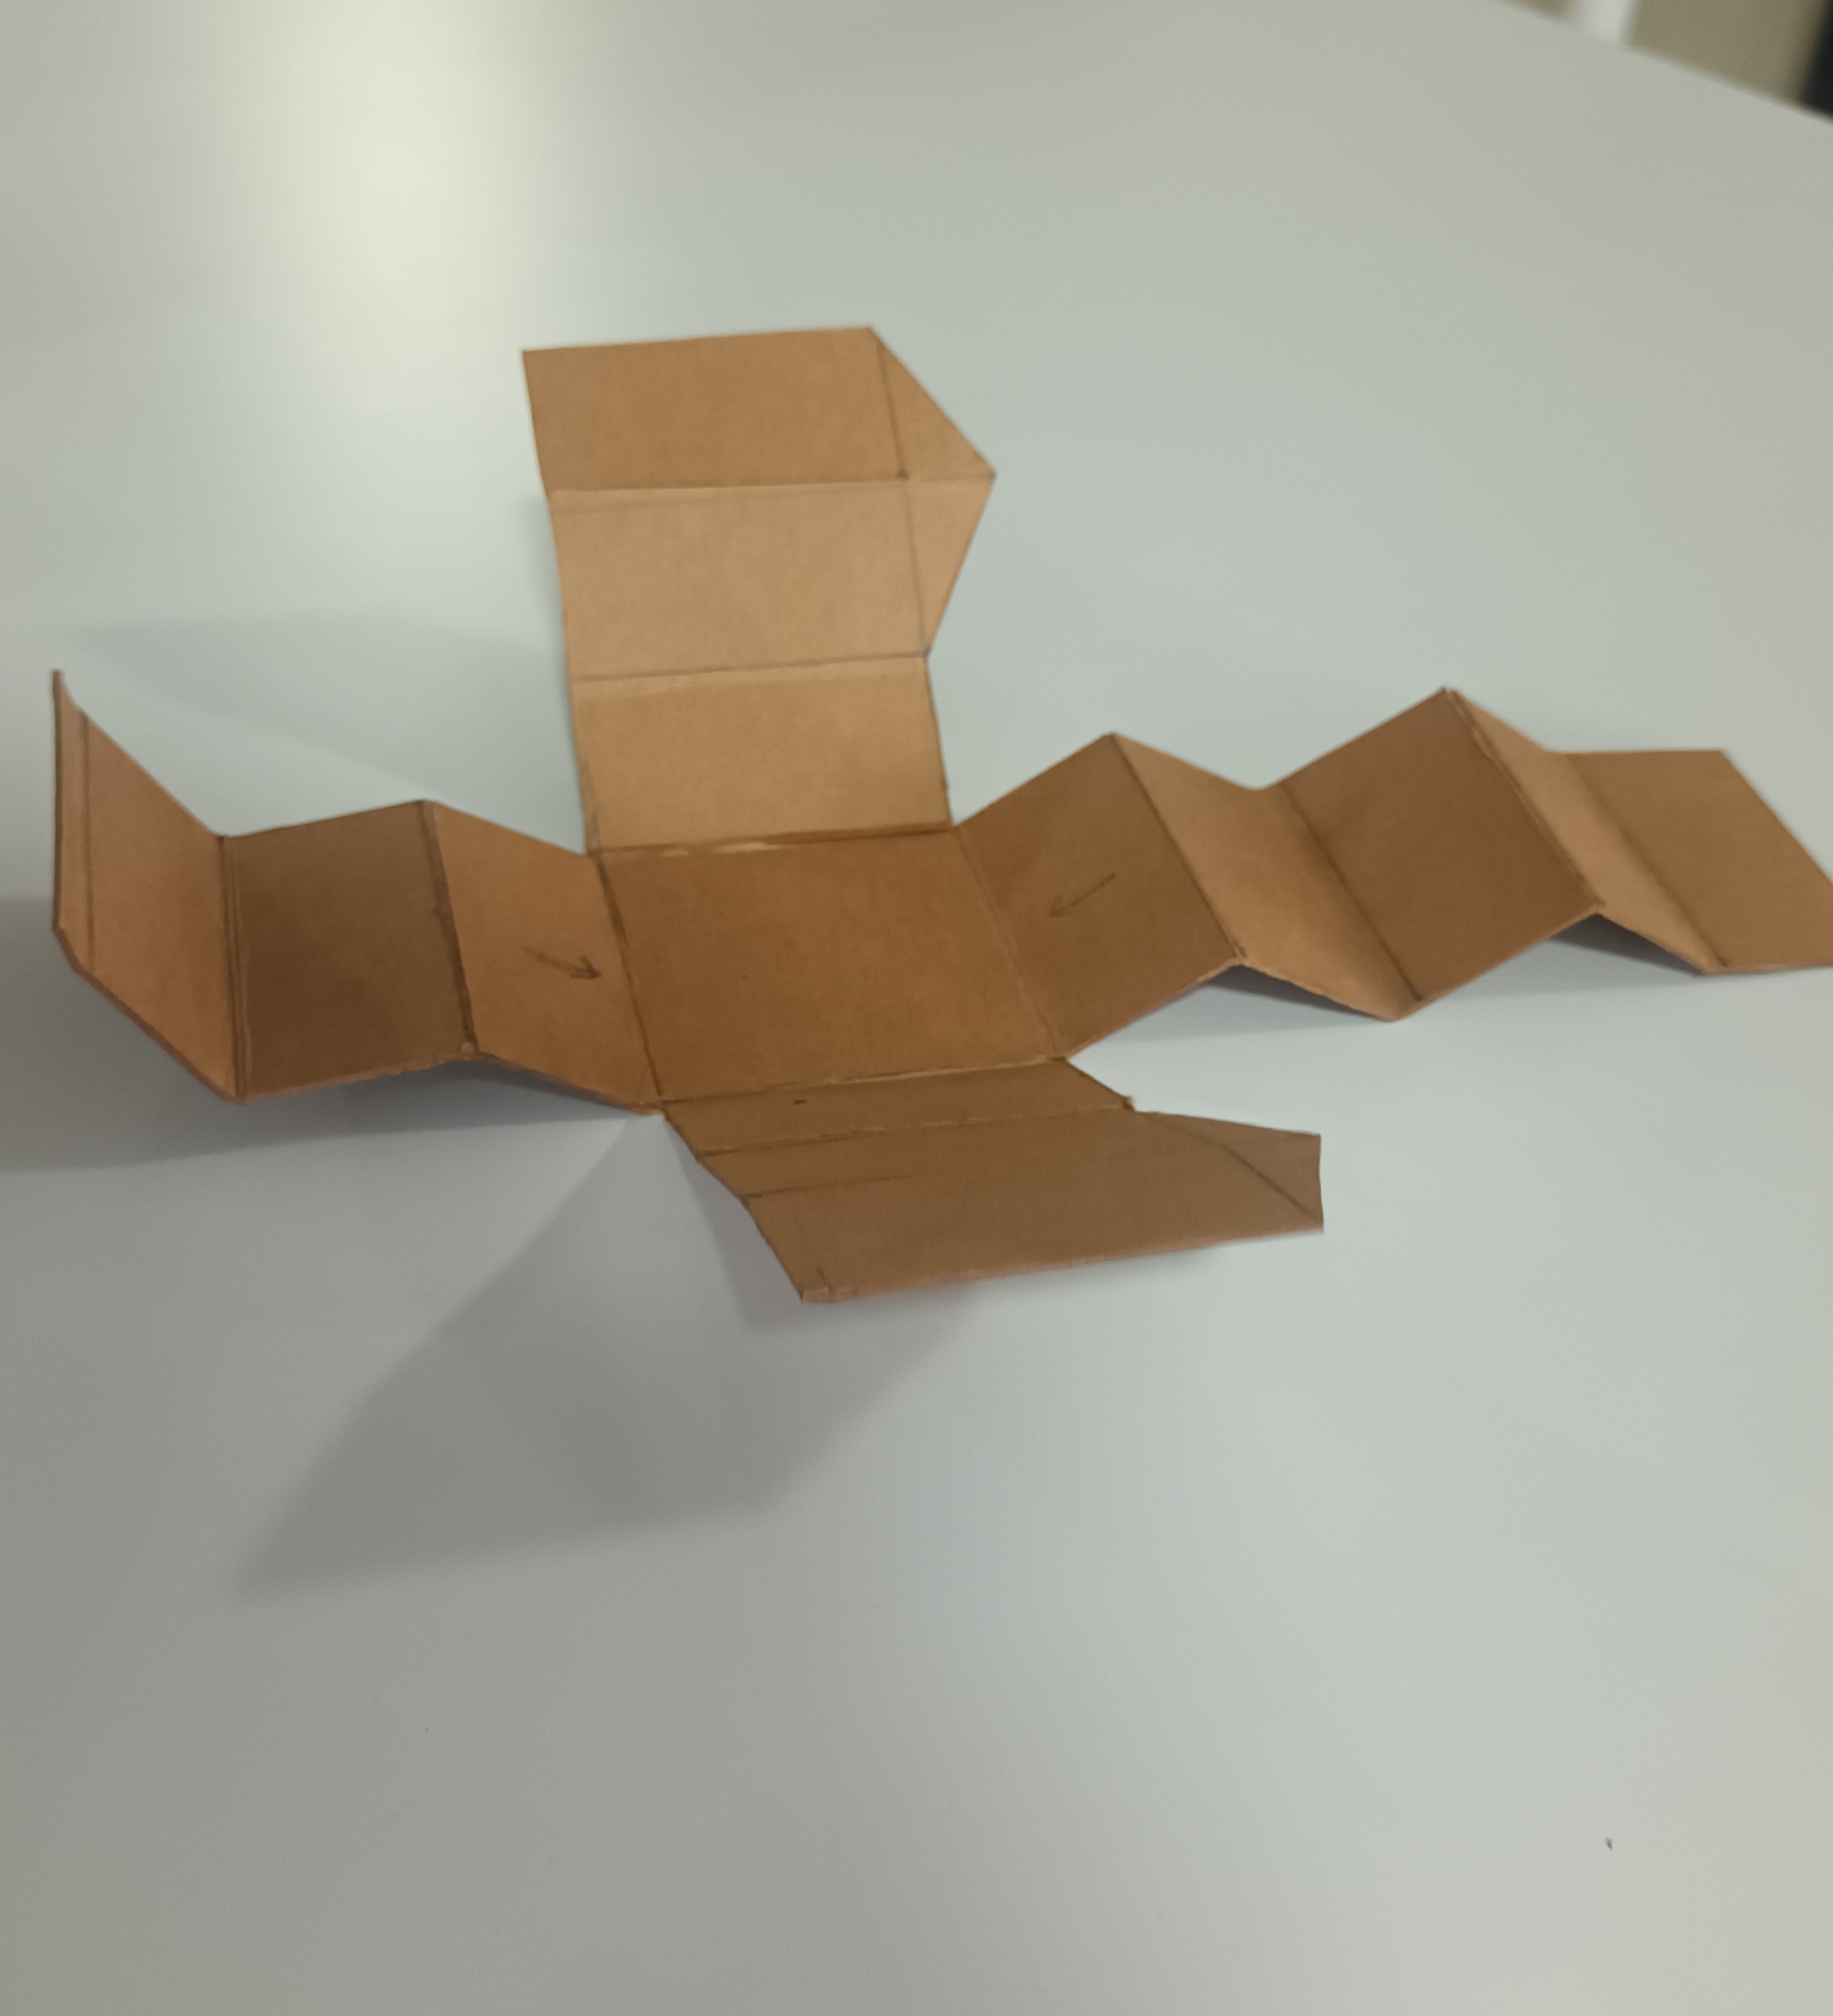
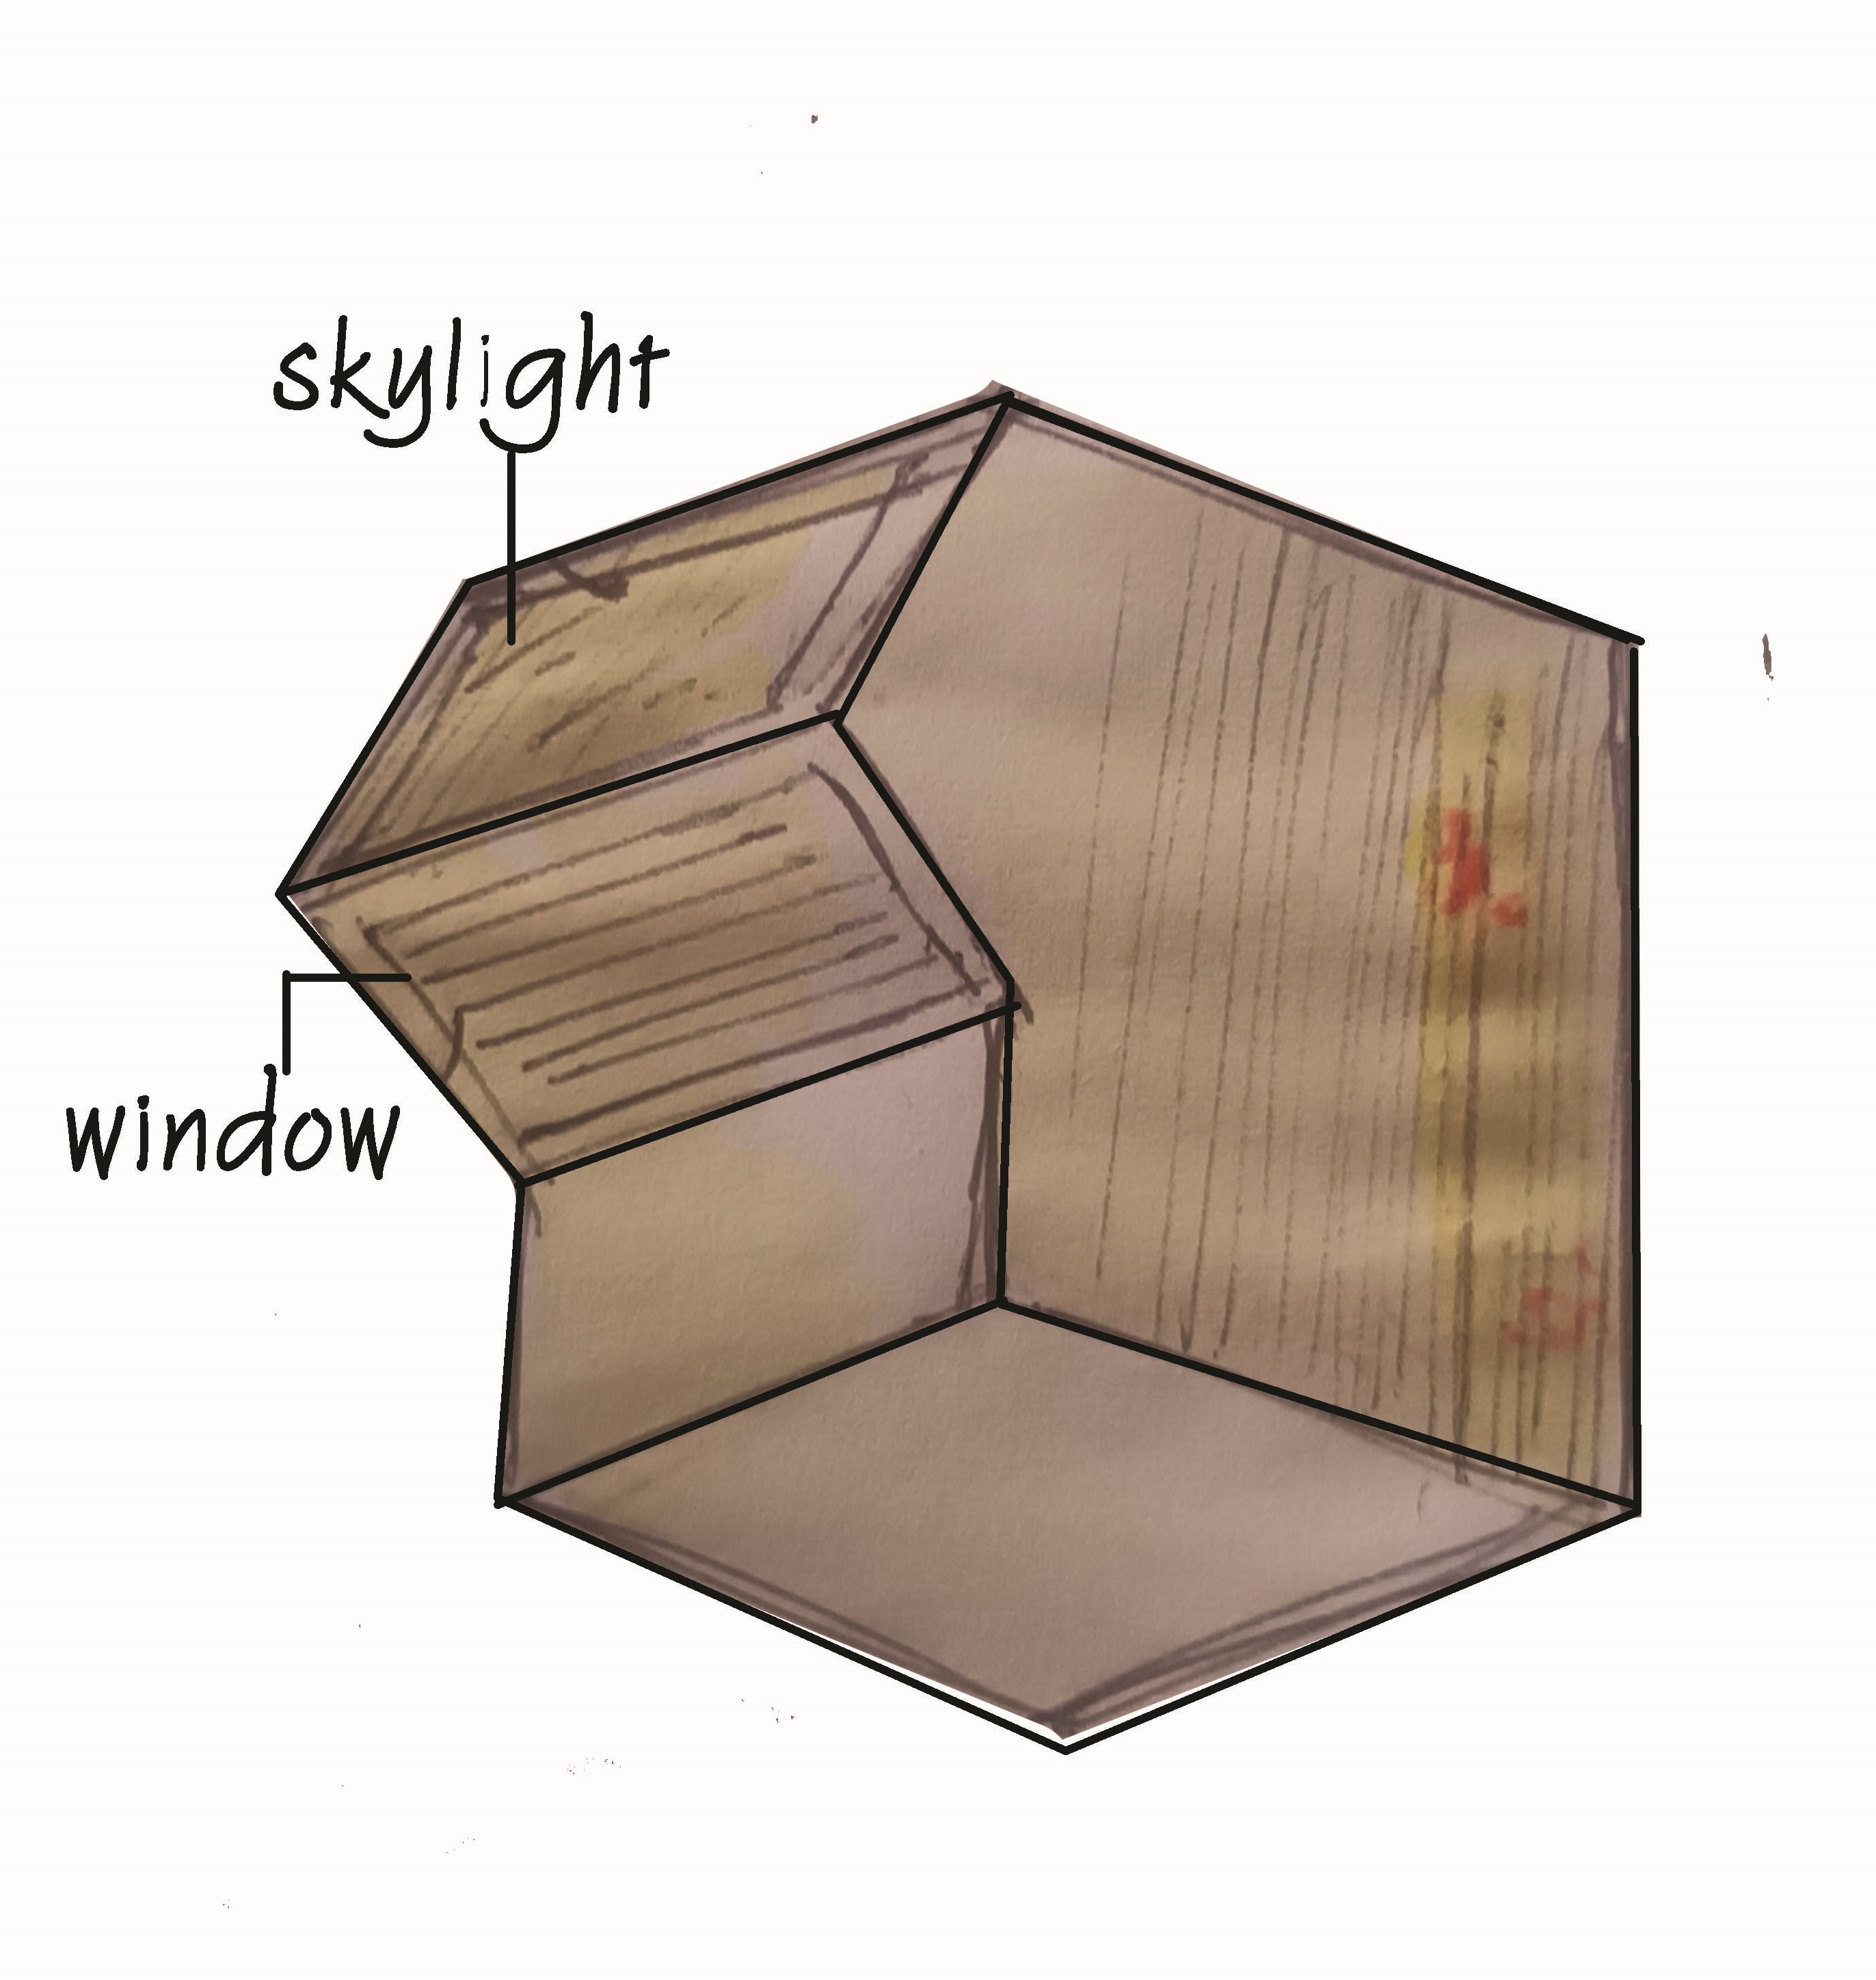
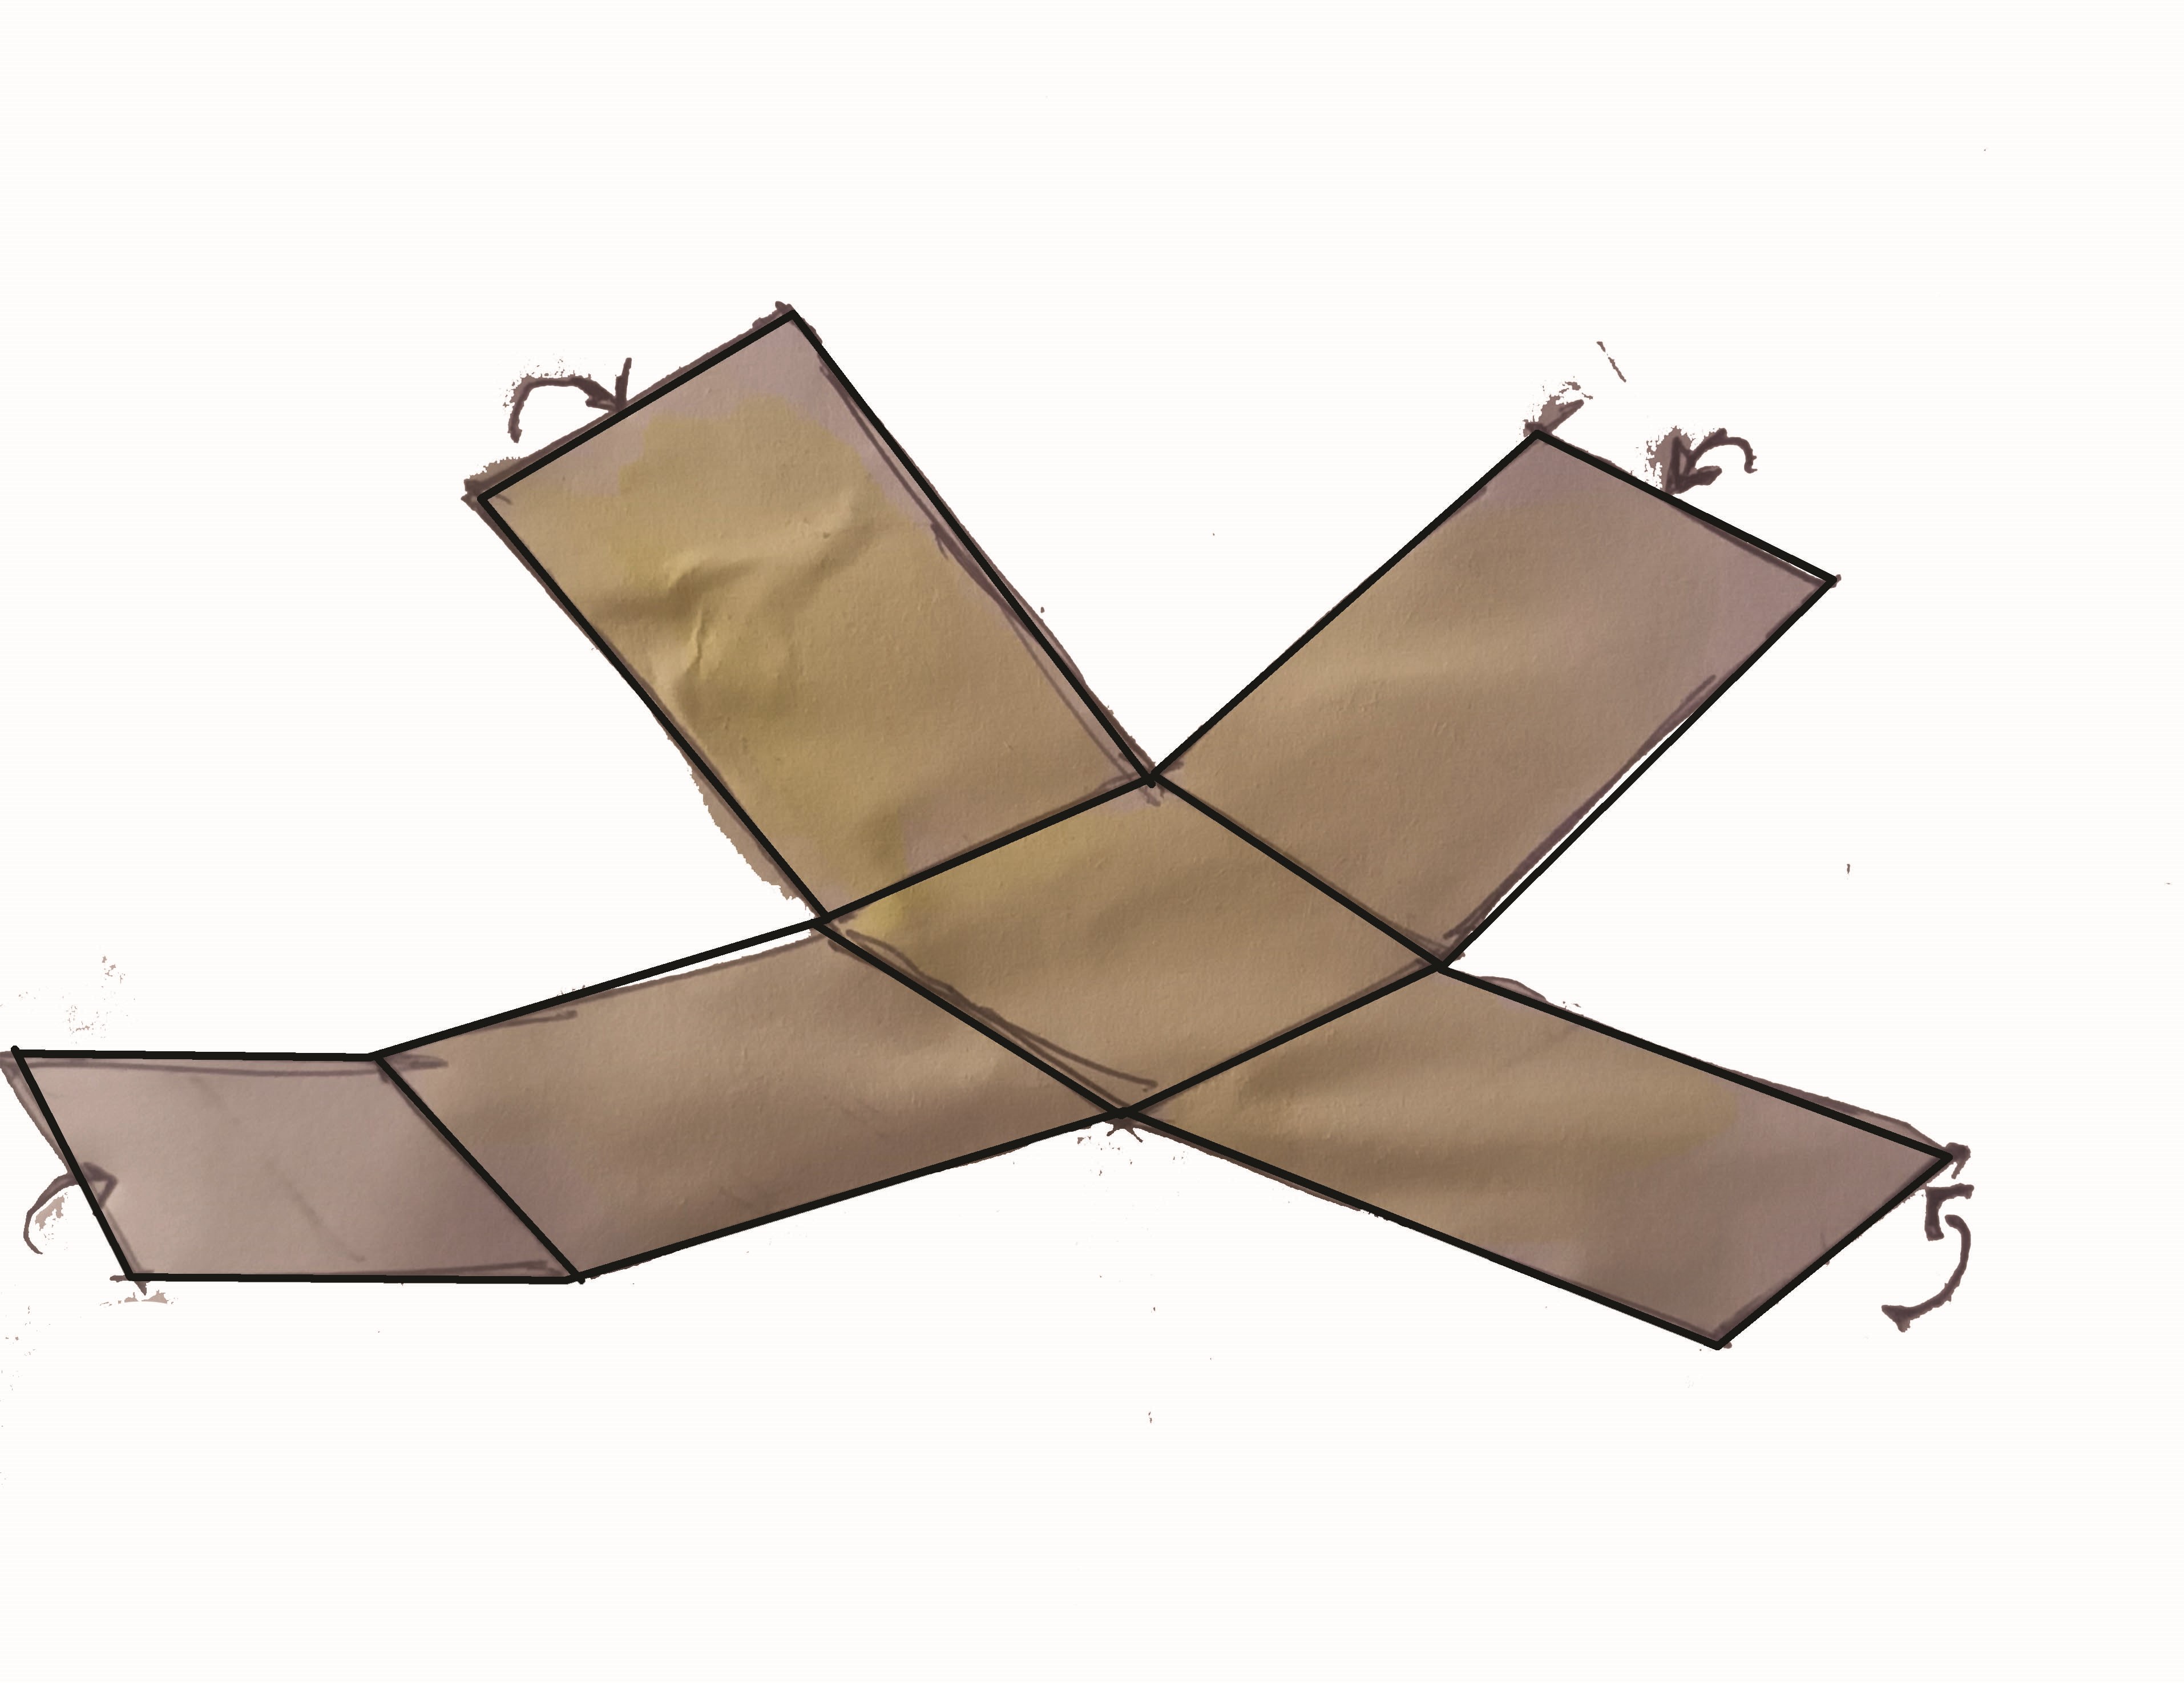
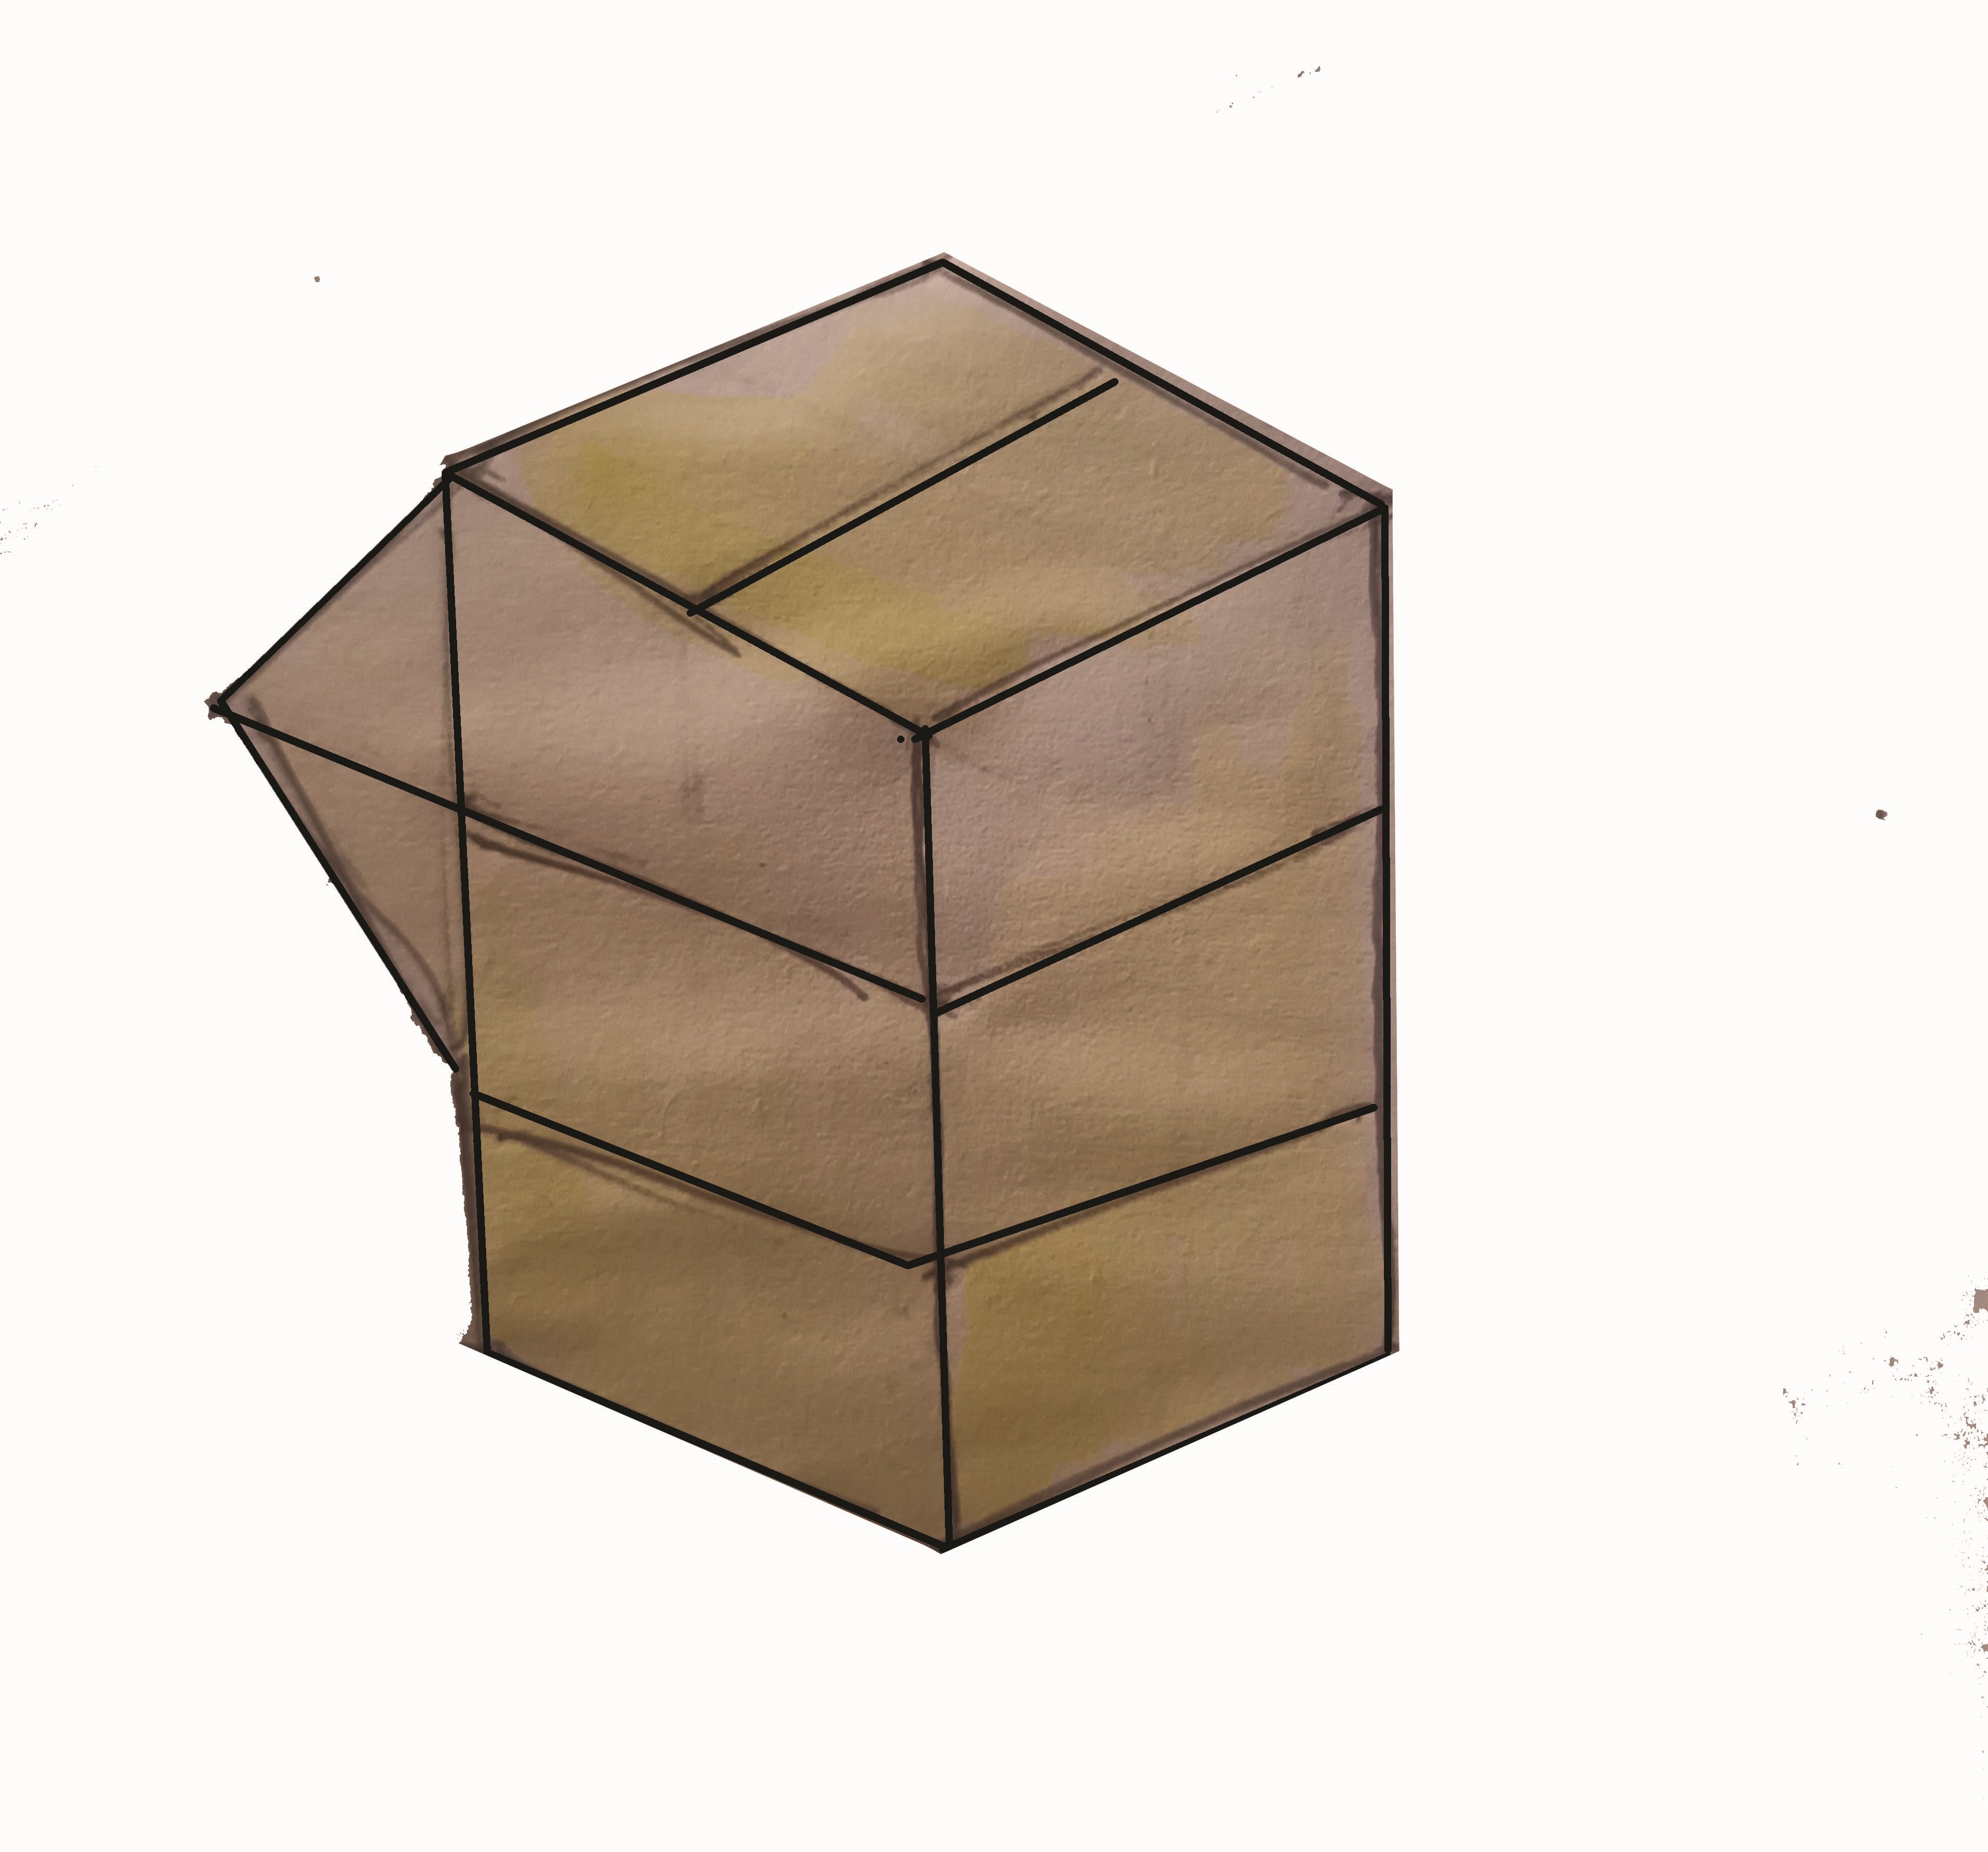
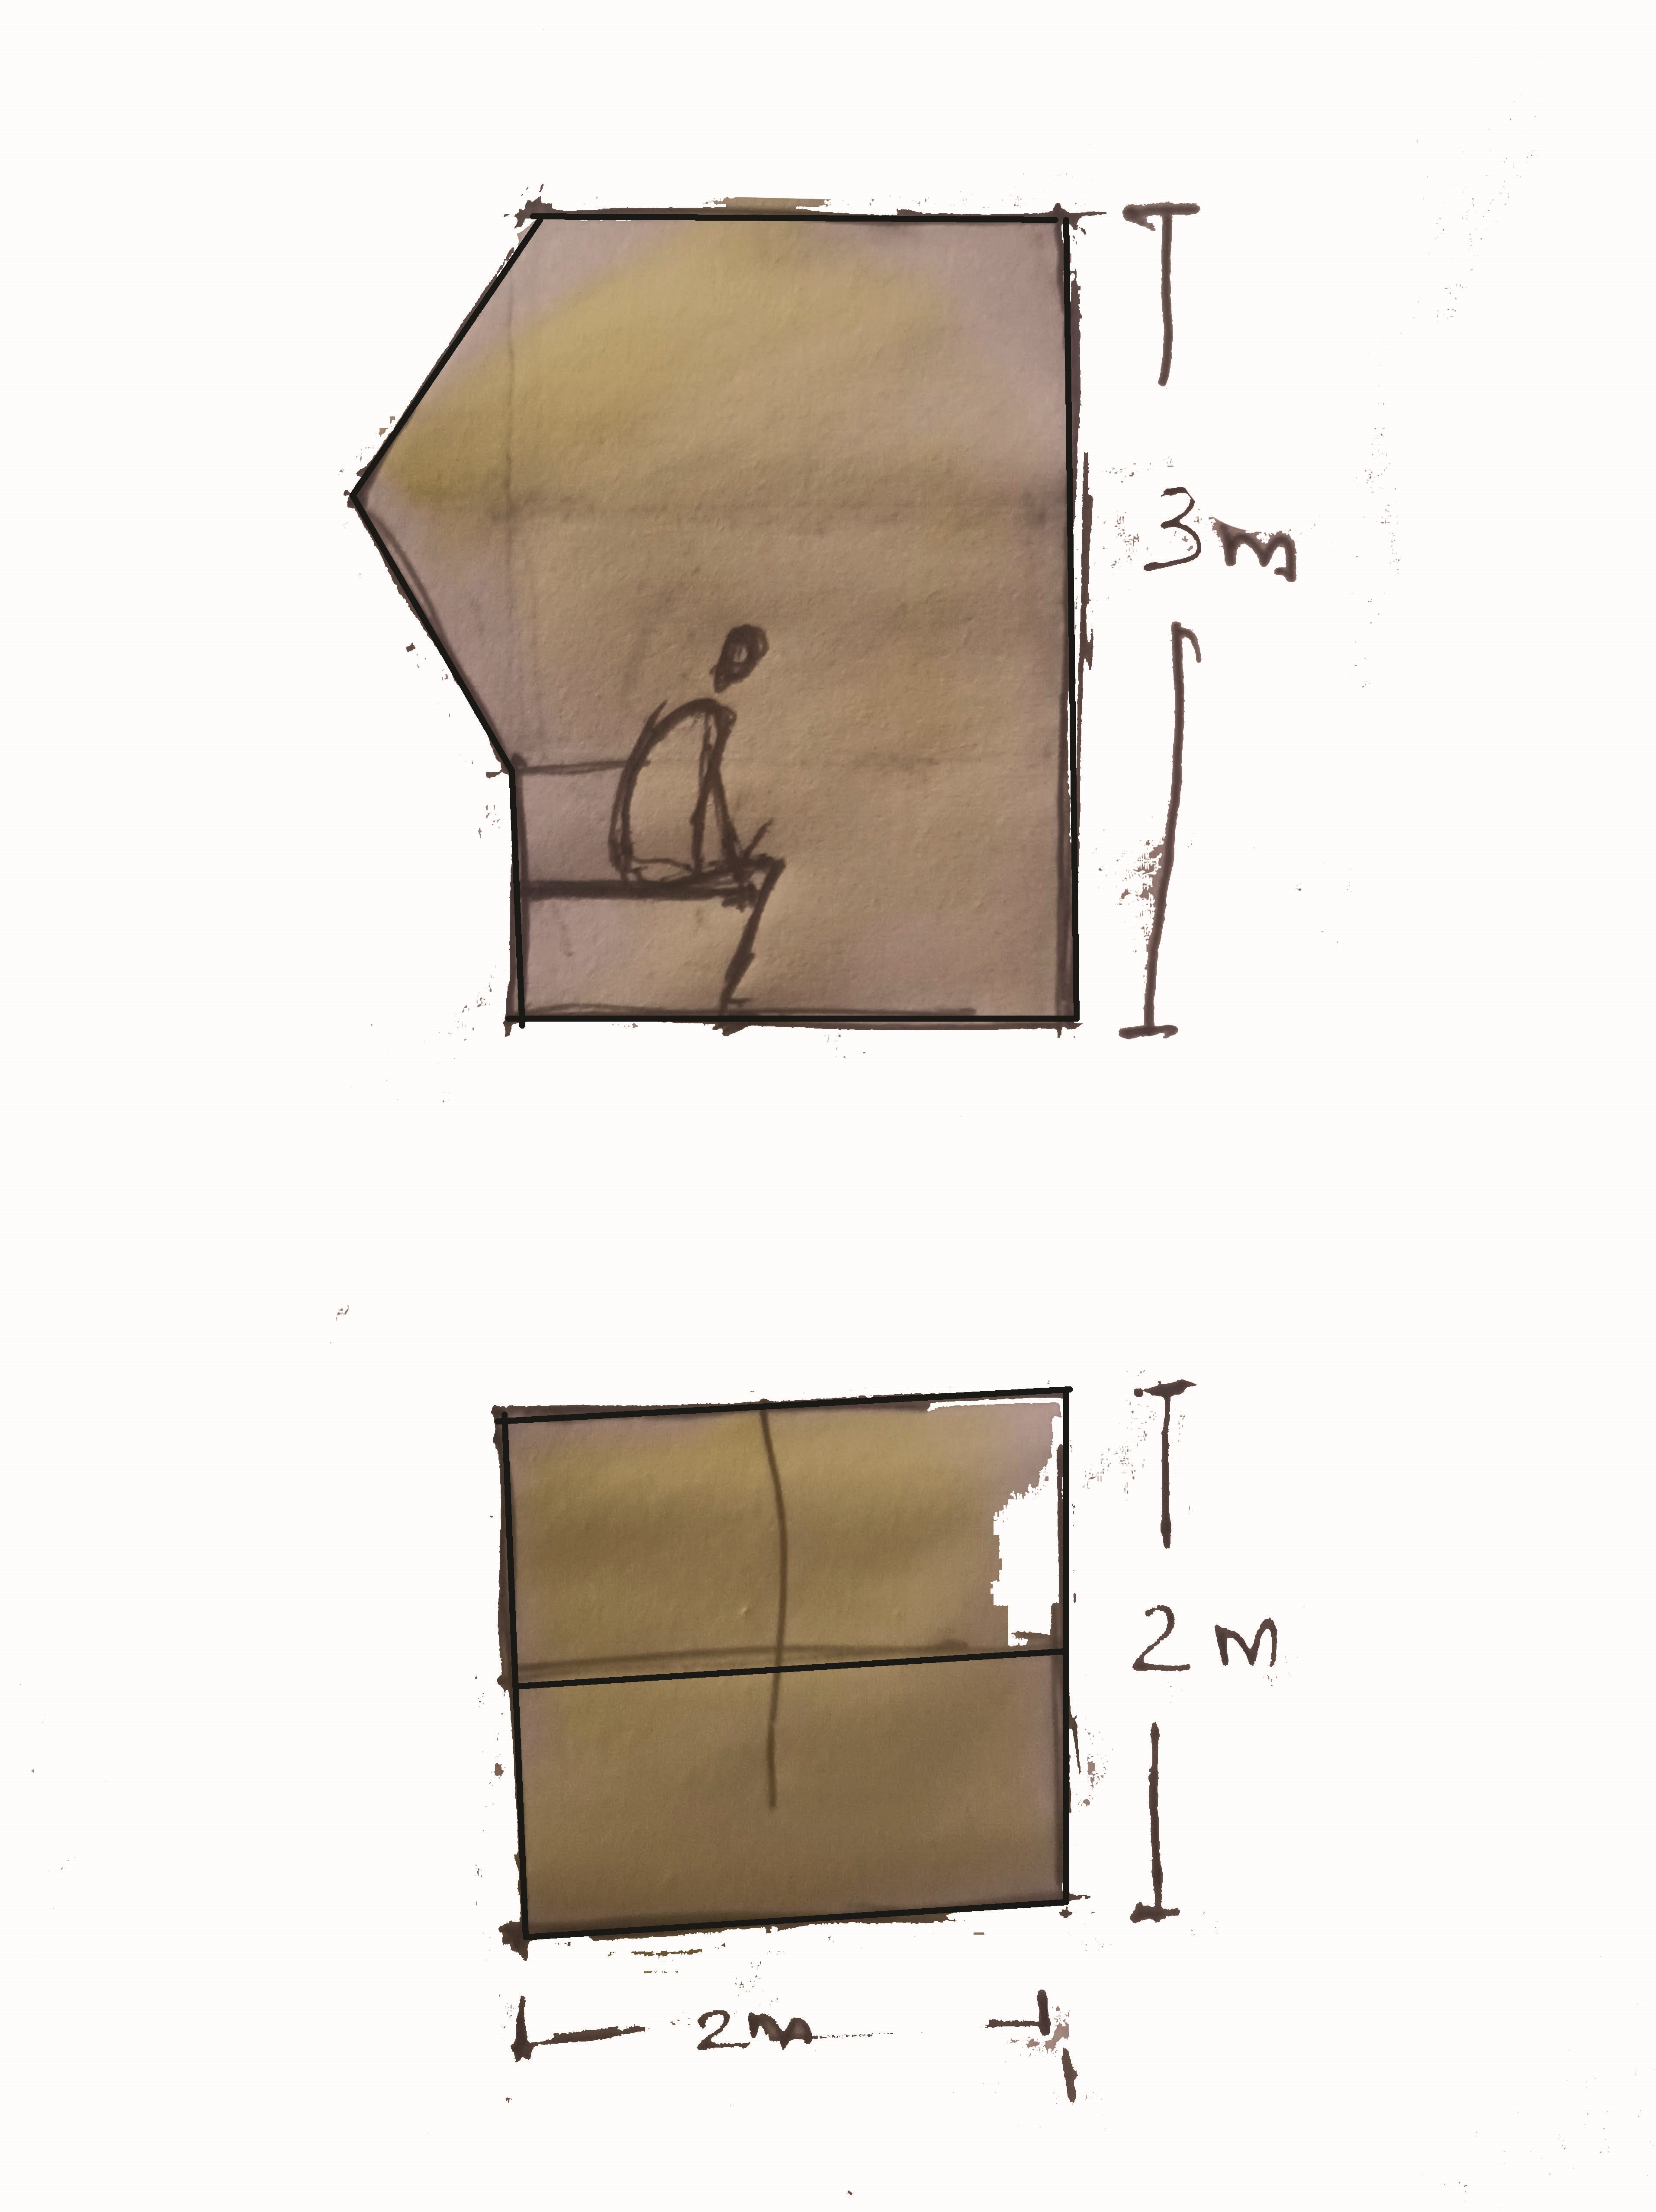
1. Foldable living unit
Following the concept of cradle-to-cradle architecture, designing a unit that could be dismantled and assembled whenever and wherever needed is the idea behind this project. The intent is to take it one step further and create an automatic foldable unit. The unit will be made of uniform-sized boards. Due to challenges in executing the project in life scale will be built in 1:10 scale.
cradle to cradle
Cradle to Cradle is a set of design principles which was developed in the 1990s by Prof. Dr. Michael Braungart, William McDonough and EPEA Hamburg. It stands for innovation, quality and beneficial design. Cradle to Cradle describes the safe and potentially infinite circulation of materials and nutrients in cycles.
Example of folding homes
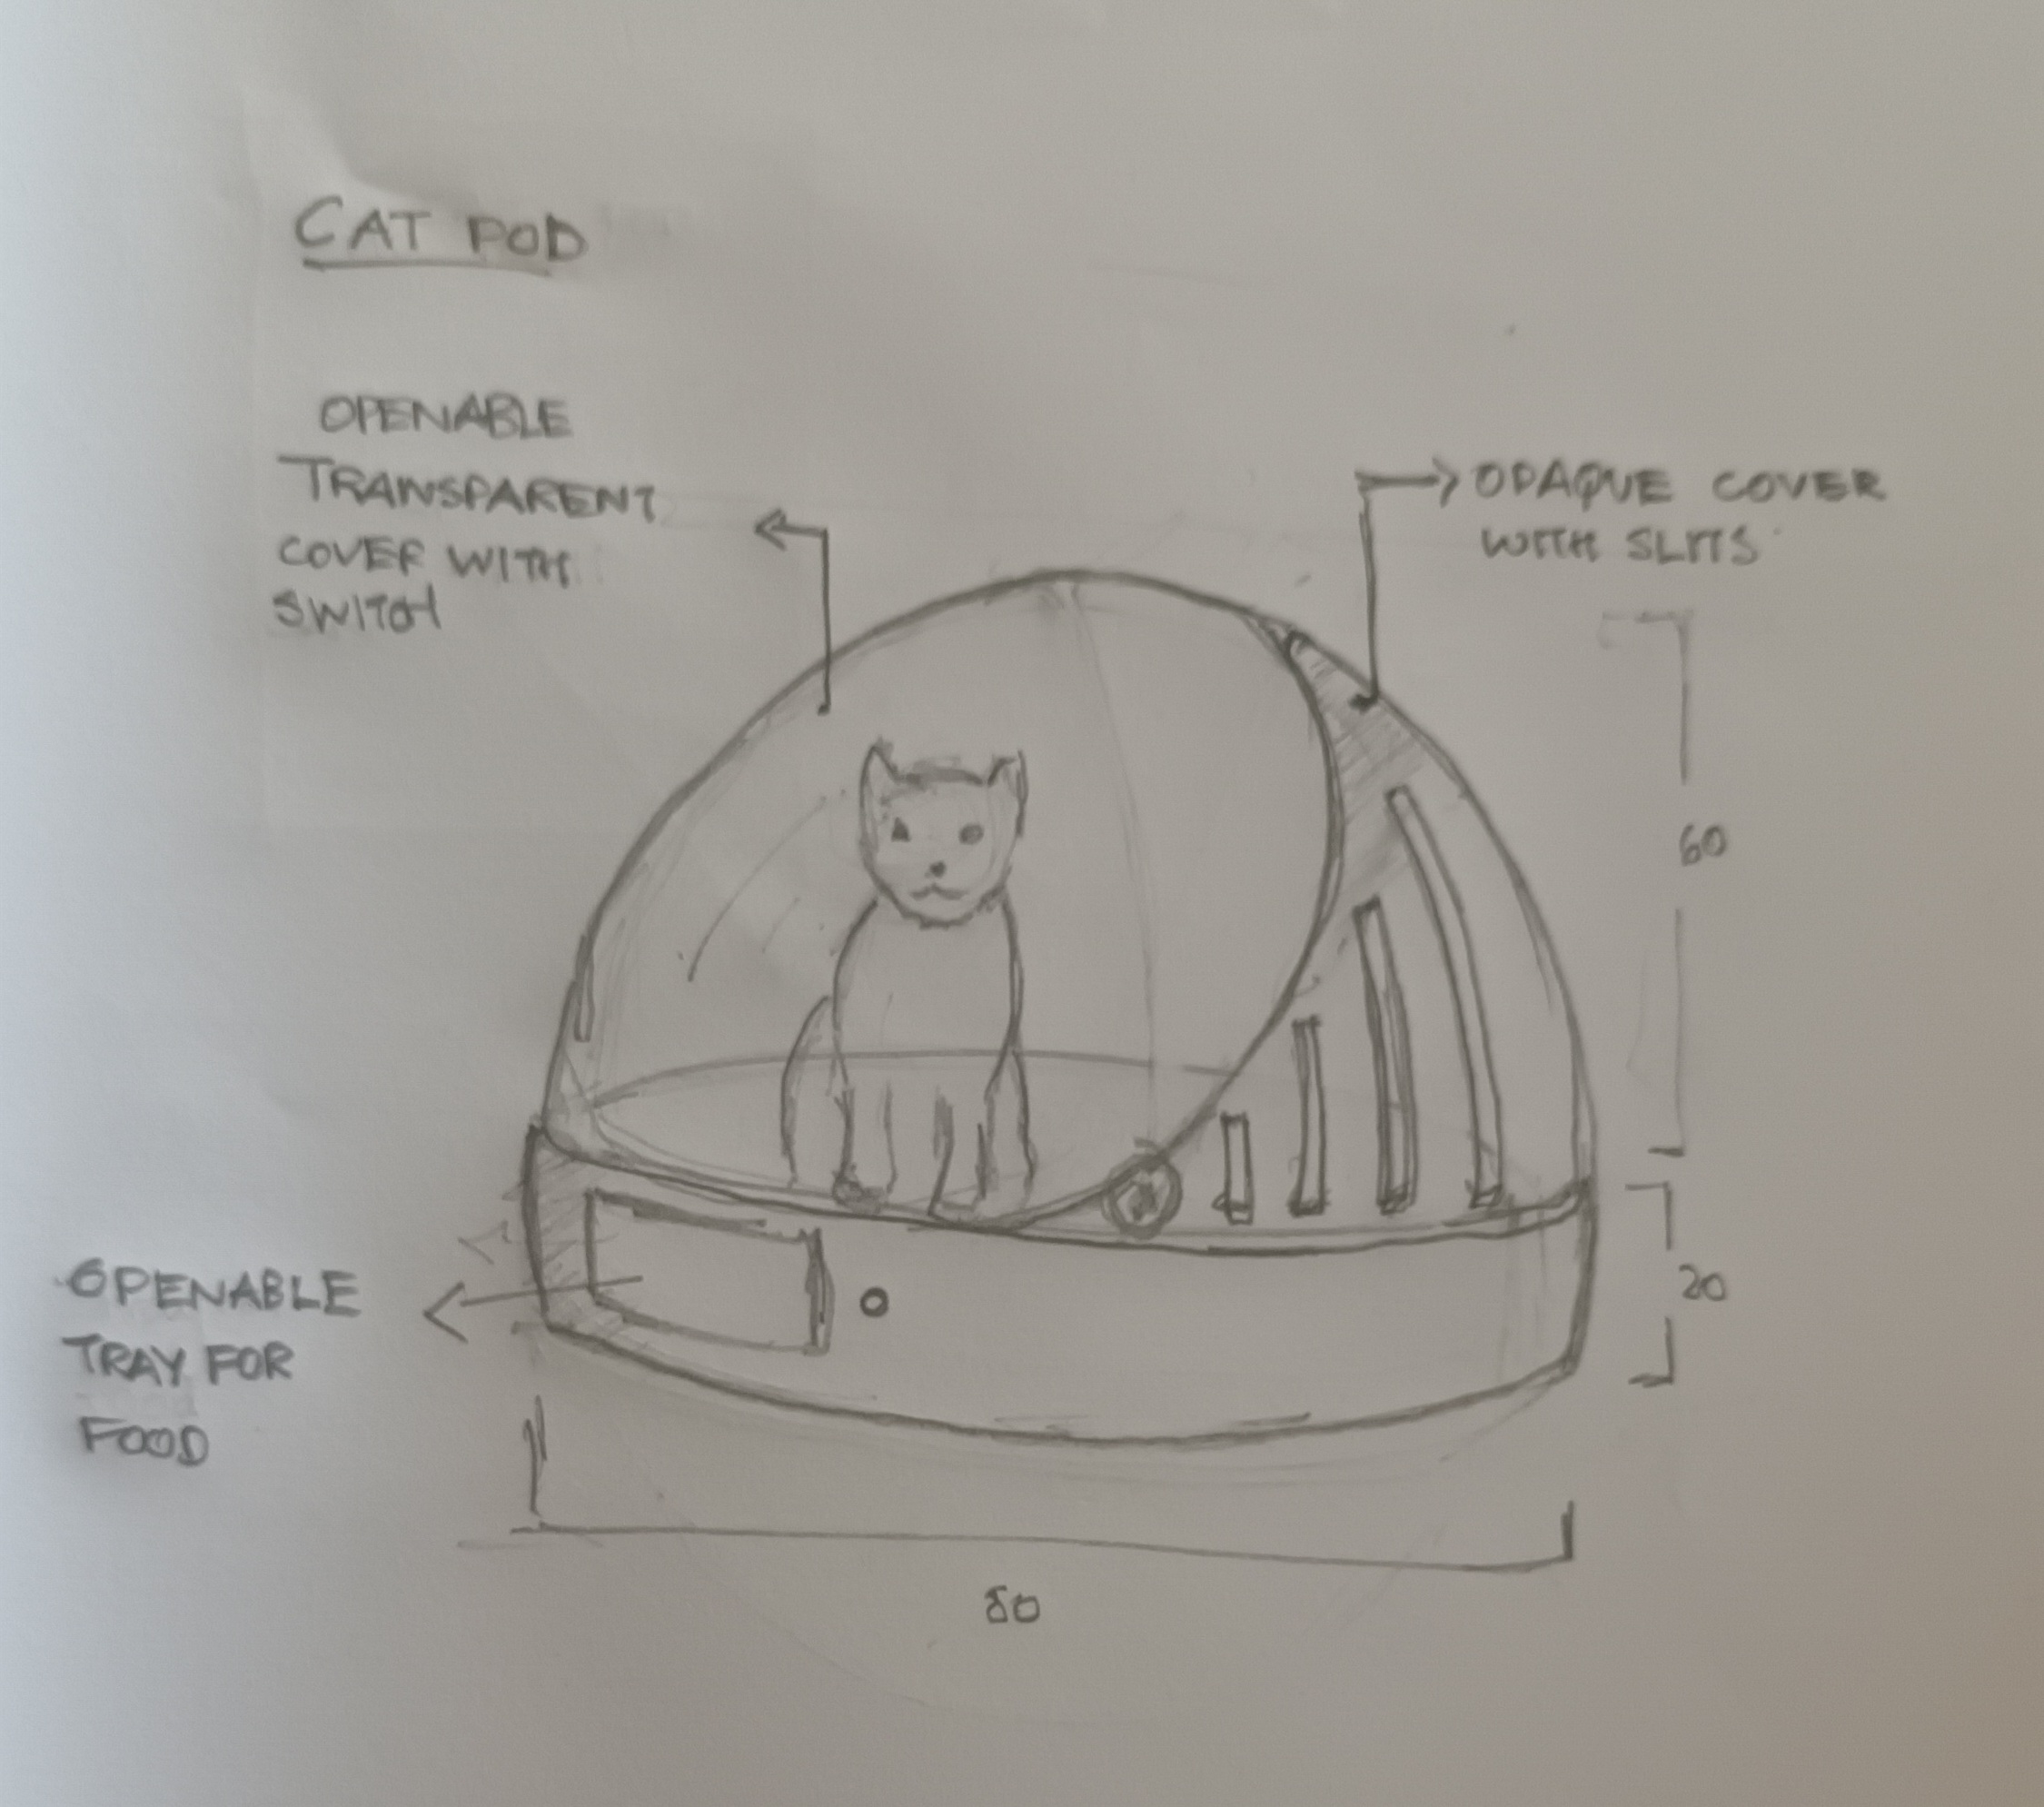
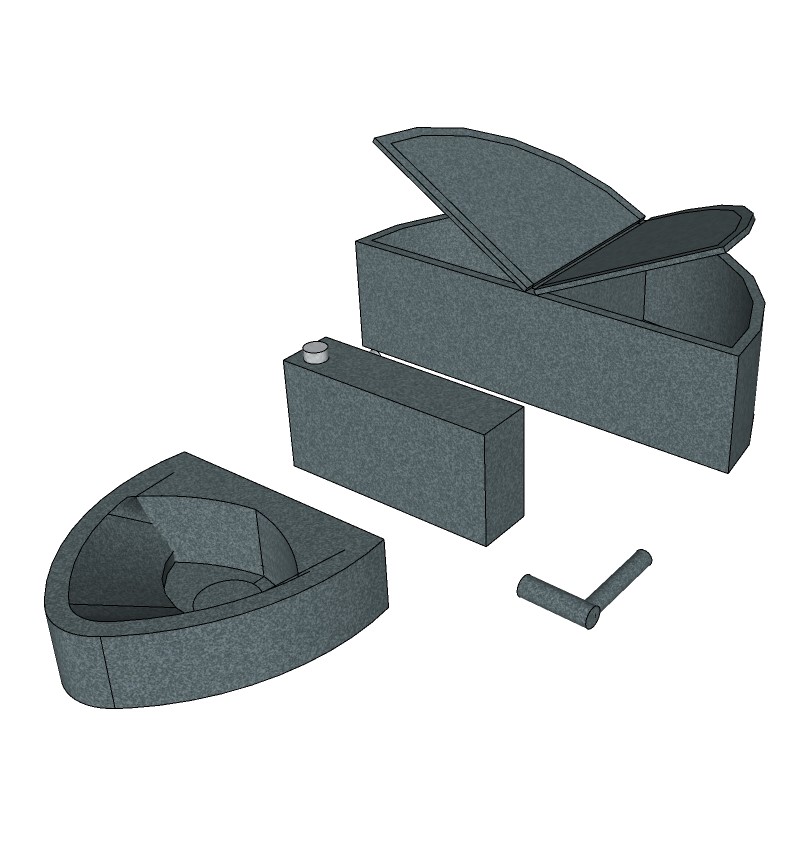
2.Cat pod
An adjustable cat cage with inbuilt food tray. It’ll be operable through switch control. Will act as a comfartable resting spot for cats and can be changed into an aesthetic cage when needed.
2. Smart tiles
One of ways a building gets heated is through conduction, so surface temperature of walls/roofs/partitions play an important role in thermal comfort. Even for active cooling systems like Air conditioners, it consumes more energy to cool the air if the surface temperature is high. A smart tile would sense the temperature difference and would automatically adjusts itself to an optimum temperature.
3. self adjustable louvers
A louver is a window blind or shutter with horizontal slats that are angled to admit light and air, but to keep out rain and direct sunshine. A self adjustable louver would adjust its angle automatically with respect to wind direction
4. Portable dry composting toilet
A dry toilet is a toilet which, unlike a flush toilet, does not use flush water. Dry toilets do not use water to move excreta along or block odors.

Principles and practices
Since I am completely new to the concept of web development it was important to learn the basics of HTML and CSS.
- HTML : To create the structure of the page
- CSS: To style the page
- Javascript: To make the page Interactive
1.Learning to use Html
what are html tags
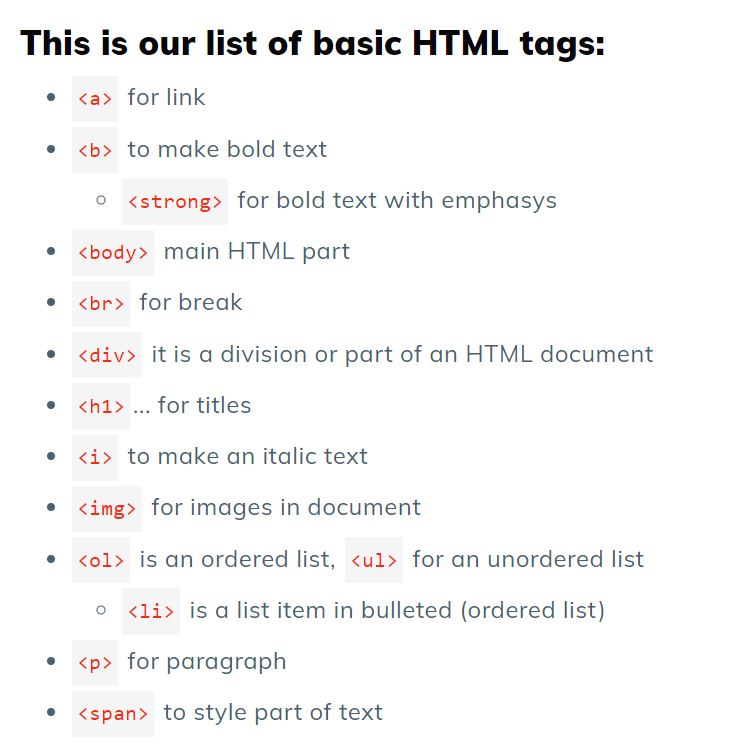
An HTML tag is a piece of markup language used to indicate the beginning and end of an HTML element in an HTML document. As part of an HTML element, HTML tags help web browsers convert HTML documents into web pages.
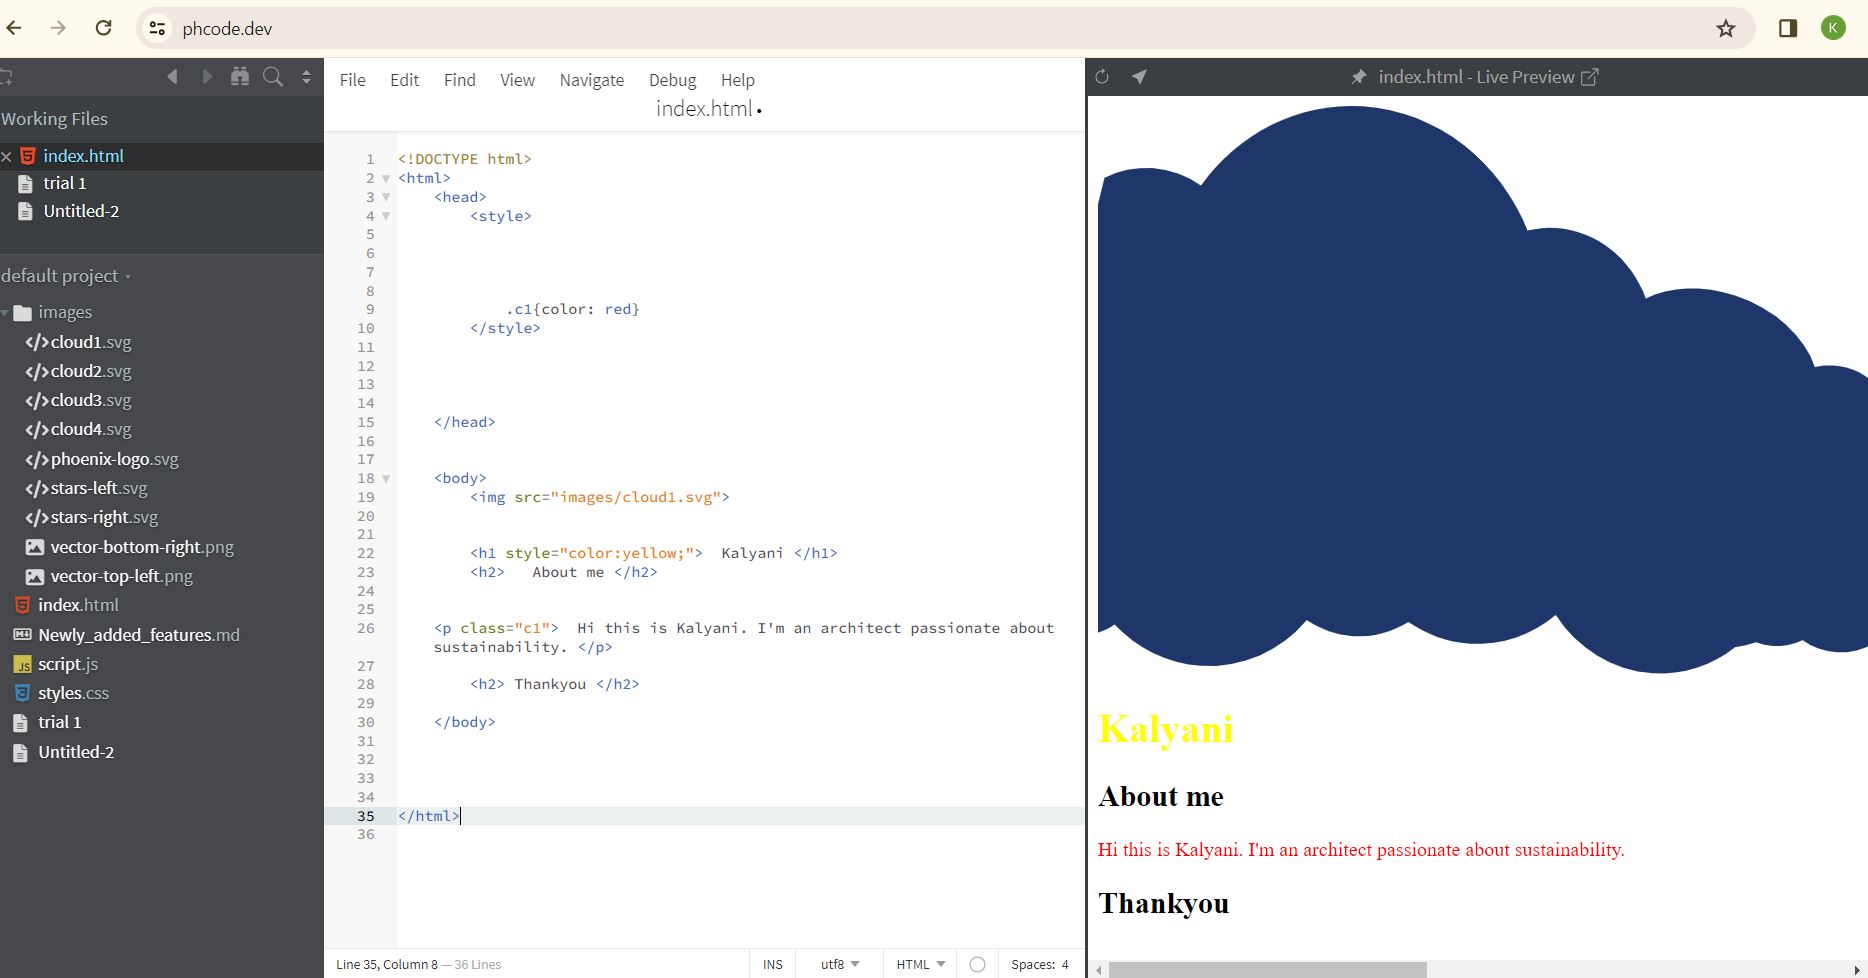
After understanding the functioning of html tags we tried applying these to build a very basic page in phoenix
2.Version control
What is version control
Version control, also known as source control, is the practice of tracking and managing changes to software code. Version control systems are software tools that help software teams manage changes to source code over time.
Git is the version control we were recommended to use

Git is a DevOps tool used for source code management. It is a free and open-source version control system used to handle small to very large projects efficiently. Git is used to tracking changes in the source code, enabling multiple developers to work together on non-linear development.
I followed a git tutorial to understand setting up git
1.Git Installation
Installing on Windows
There are a few ways to install Git on Windows. The most official build is available for download on the Git website. Just go to https://git-scm.com/download/win and the download will start automatically.
2.Git Configuration.
Configure Your Identity:
- Set your name and email to be associated with your Git
commits.
git config --global user.name "Your Name"
git config --global user.email "
your.email@example.com"
Check Configuration:
- Verify your configurations:
git config --global --list

- SSH Key Generation
Open Terminal or Command Prompt:
- On Windows, you can use Git Bash or the command prompt.
Generate SSH Key:
- Run the following command, replacing the email with your
GitHub (or other service) email:
ssh-keygen -t rsa -b 4096 -C "your.email@example.com"
- Press Enter to accept the default file location.
- Locate Your SSH Key:
- By default, your SSH key pair is stored in the
following locations:
- Private Key: ~/.ssh/id_rsa (on Linux/macOS) or %USERPROFILE%\.ssh\id_rsa (on Windows)
- Public Key: ~/.ssh/id_rsa.pub (on Linux/macOS) or %USERPROFILE%\.ssh\id_rsa.pub (on Windows)
- View Public Key:
- By default, your SSH key pair is stored in the
following locations:
- Use a text editor to open and view the public key (e.g., cat ~/.ssh/id_rsa.pub on Linux/macOS or type %USERPROFILE%\.ssh\id_rsa.pub on Windows).
Copy Public Key:
- Copy the contents of the public key.
Add SSH Key to Your SSH Agent (Optional but recommended):
- Start the SSH agent:
eval "$(ssh-agent -s)" # on Linux/macOS
eval
ssh-agent -s# on Windows using Git Bash
- Add your private key to the SSH agent:
ssh-add ~/.ssh/id_rsa
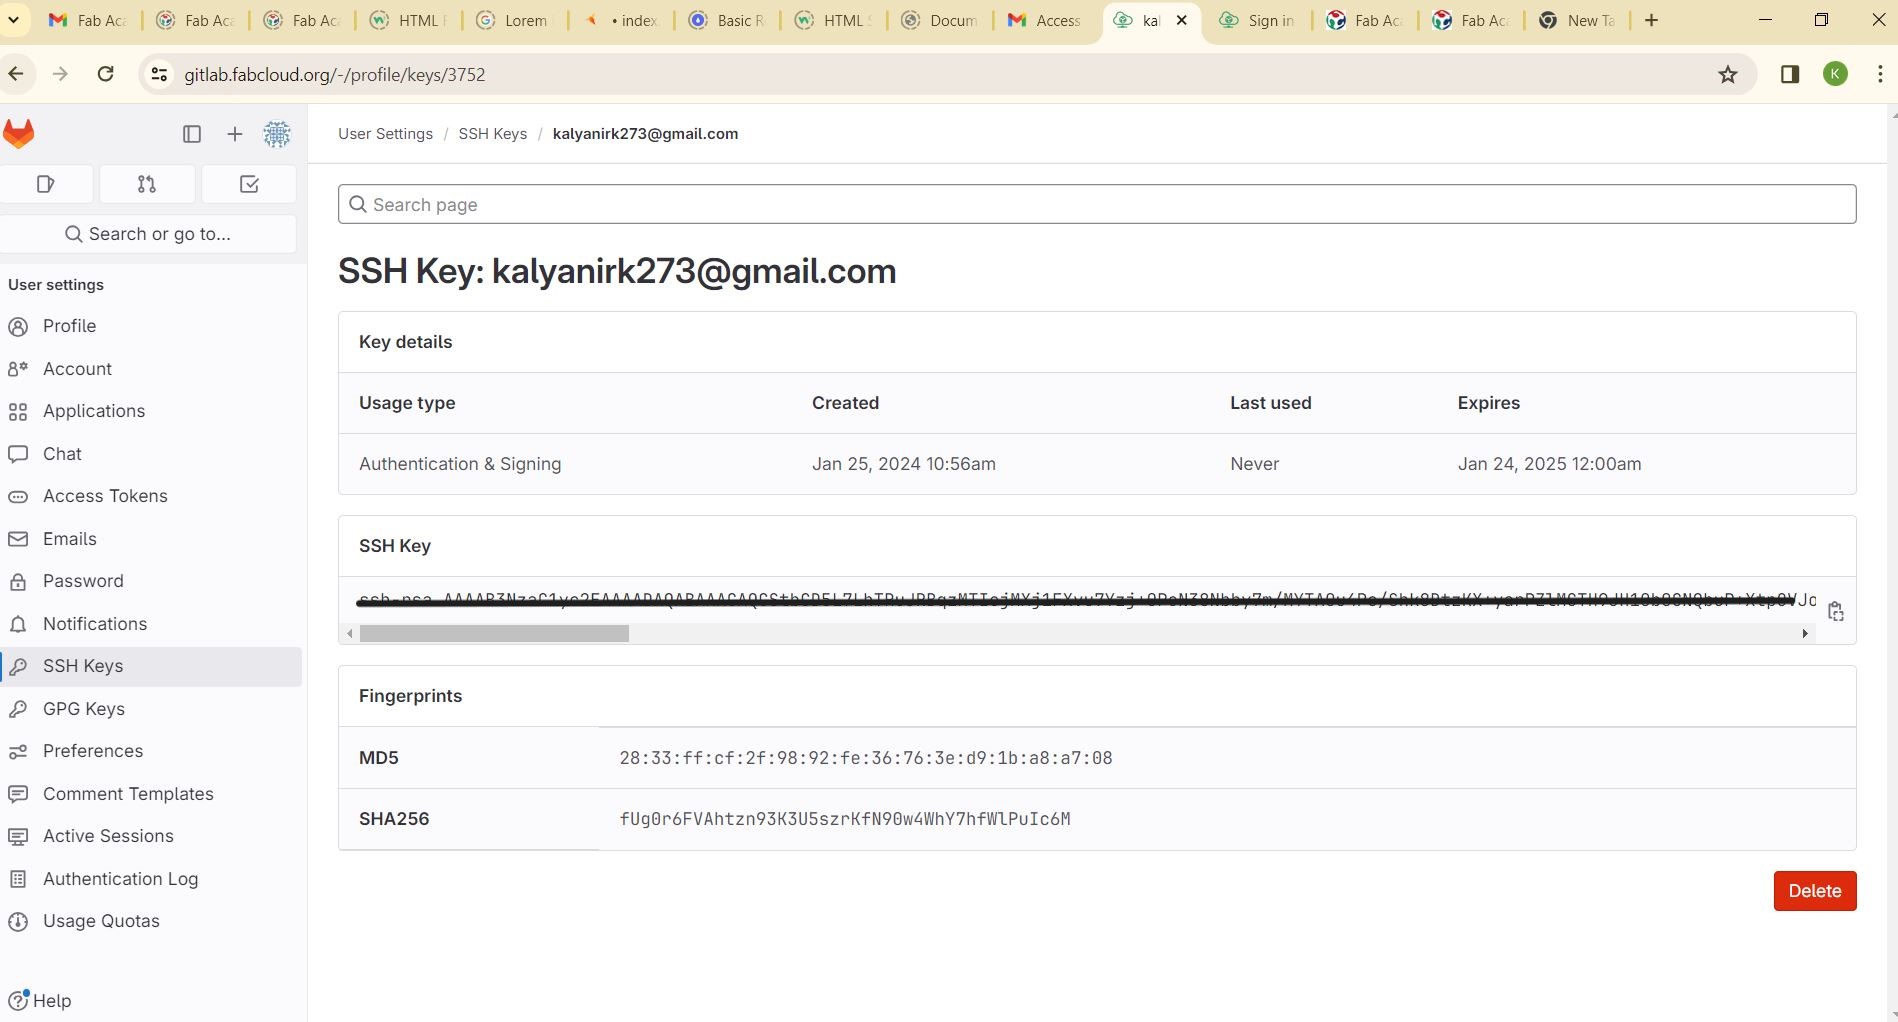
Add SSH Key to Your Account:
- add the public key to your account settings on that service.
Now, you have an SSH key pair generated and ready for use. Ensure that you keep your private key secure and don't share it with others.
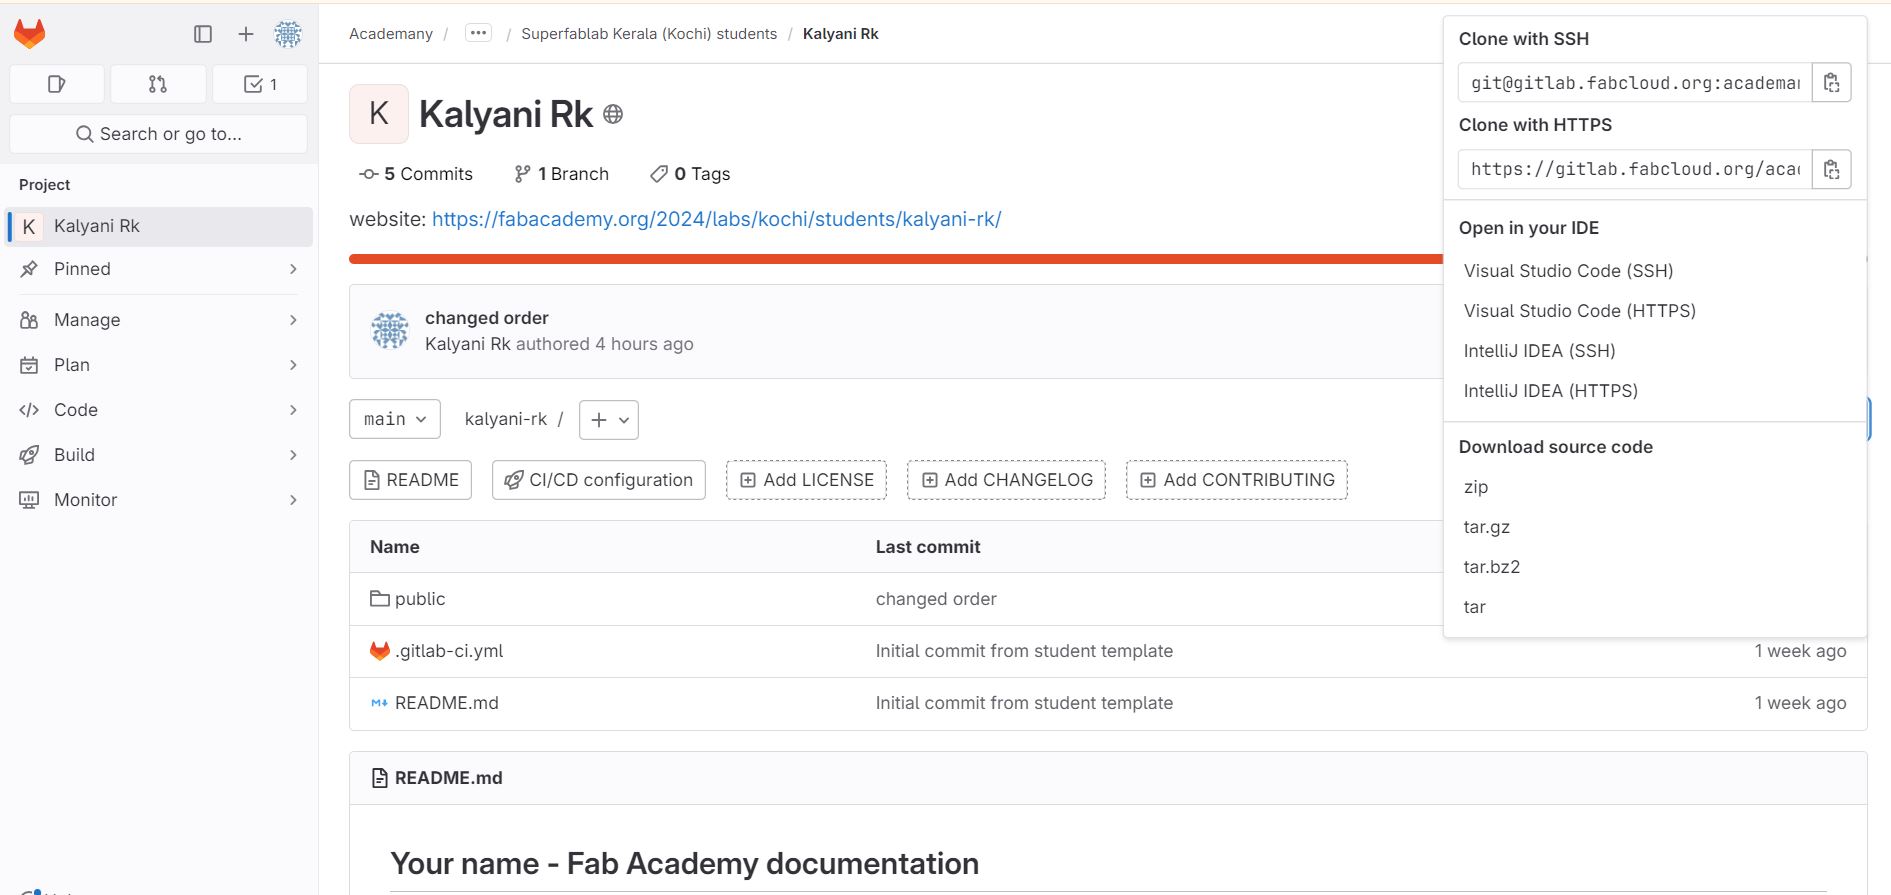
4.Cloning
copy SSH link from the git home page by
clicking the Clone button Clone with SSH
5.Git commit and push
Once the changes are made in the editor it can be pushed using the following commands
git add --all
git commit -m"message"
git push
3.Code editor
What is a code editor
Code editors allow a Developer to write error-free code more efficiently. They come equipped with features that facilitate the coding process. These features include syntax highlighting, automatic indentation, error-checking, autocomplete, and code snippets.
We were suggested to used VScode

Visual Studio Code is a streamlined code editor with support for development operations like debugging, task running, and version control.

4. My web page
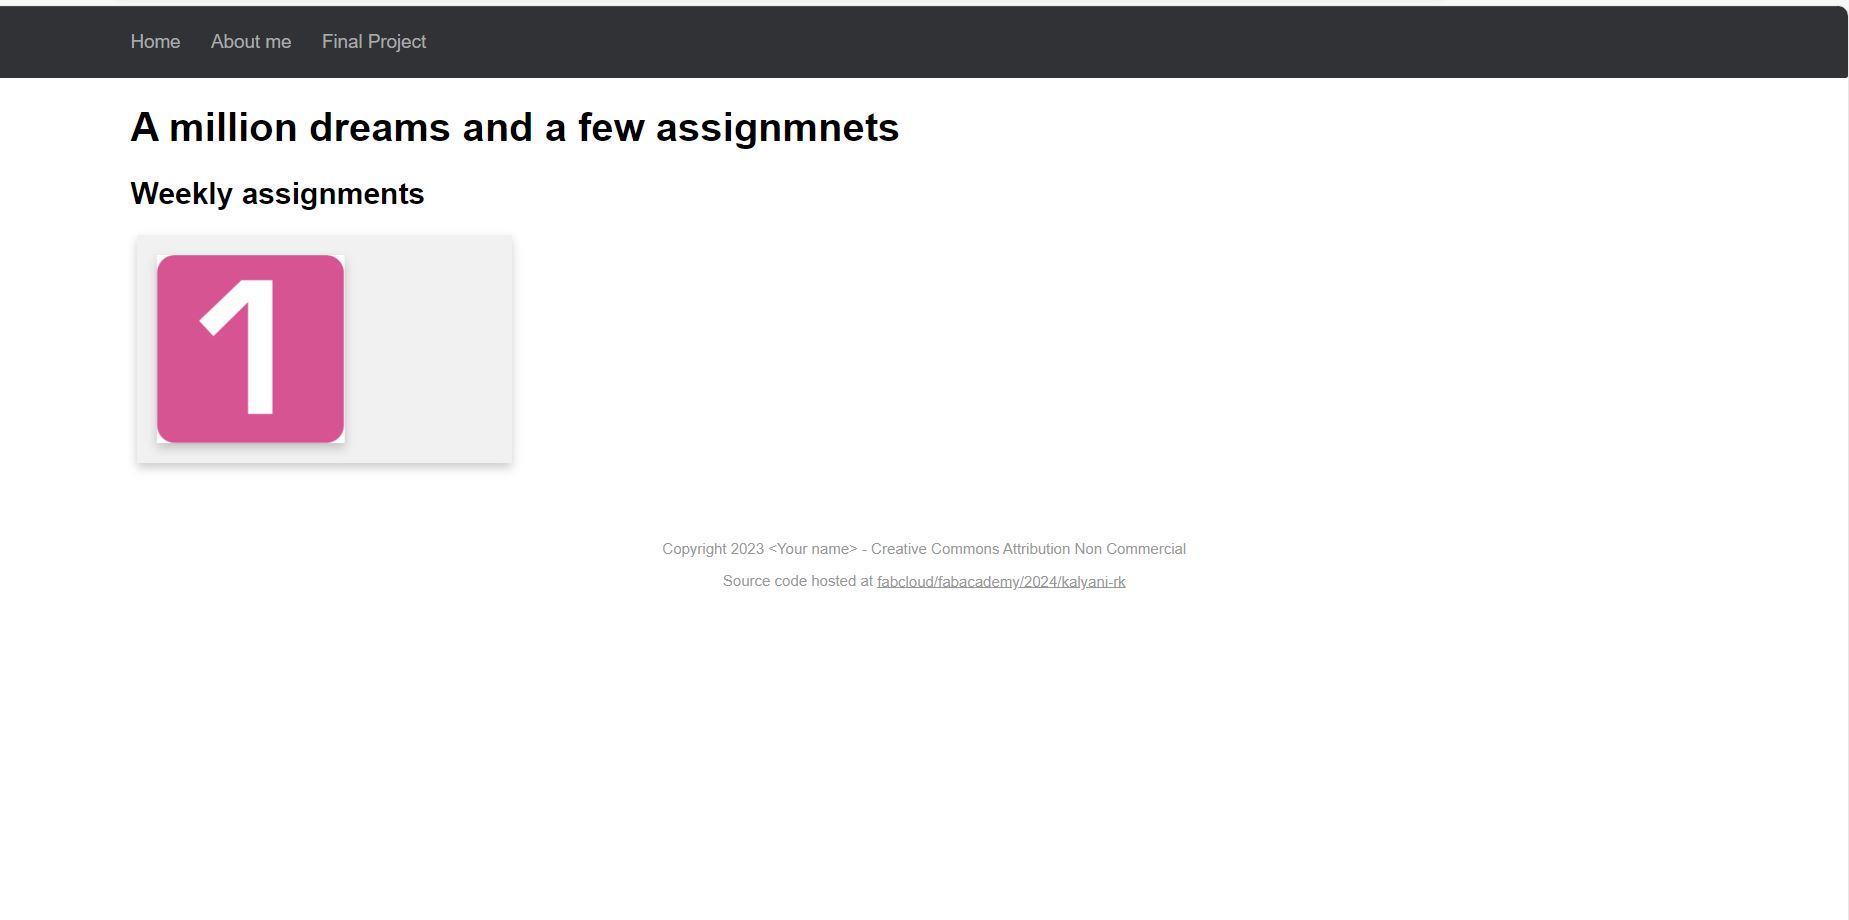
After sitting for 3 whole days this is what I managed to create. Disappointed would be an understatement!
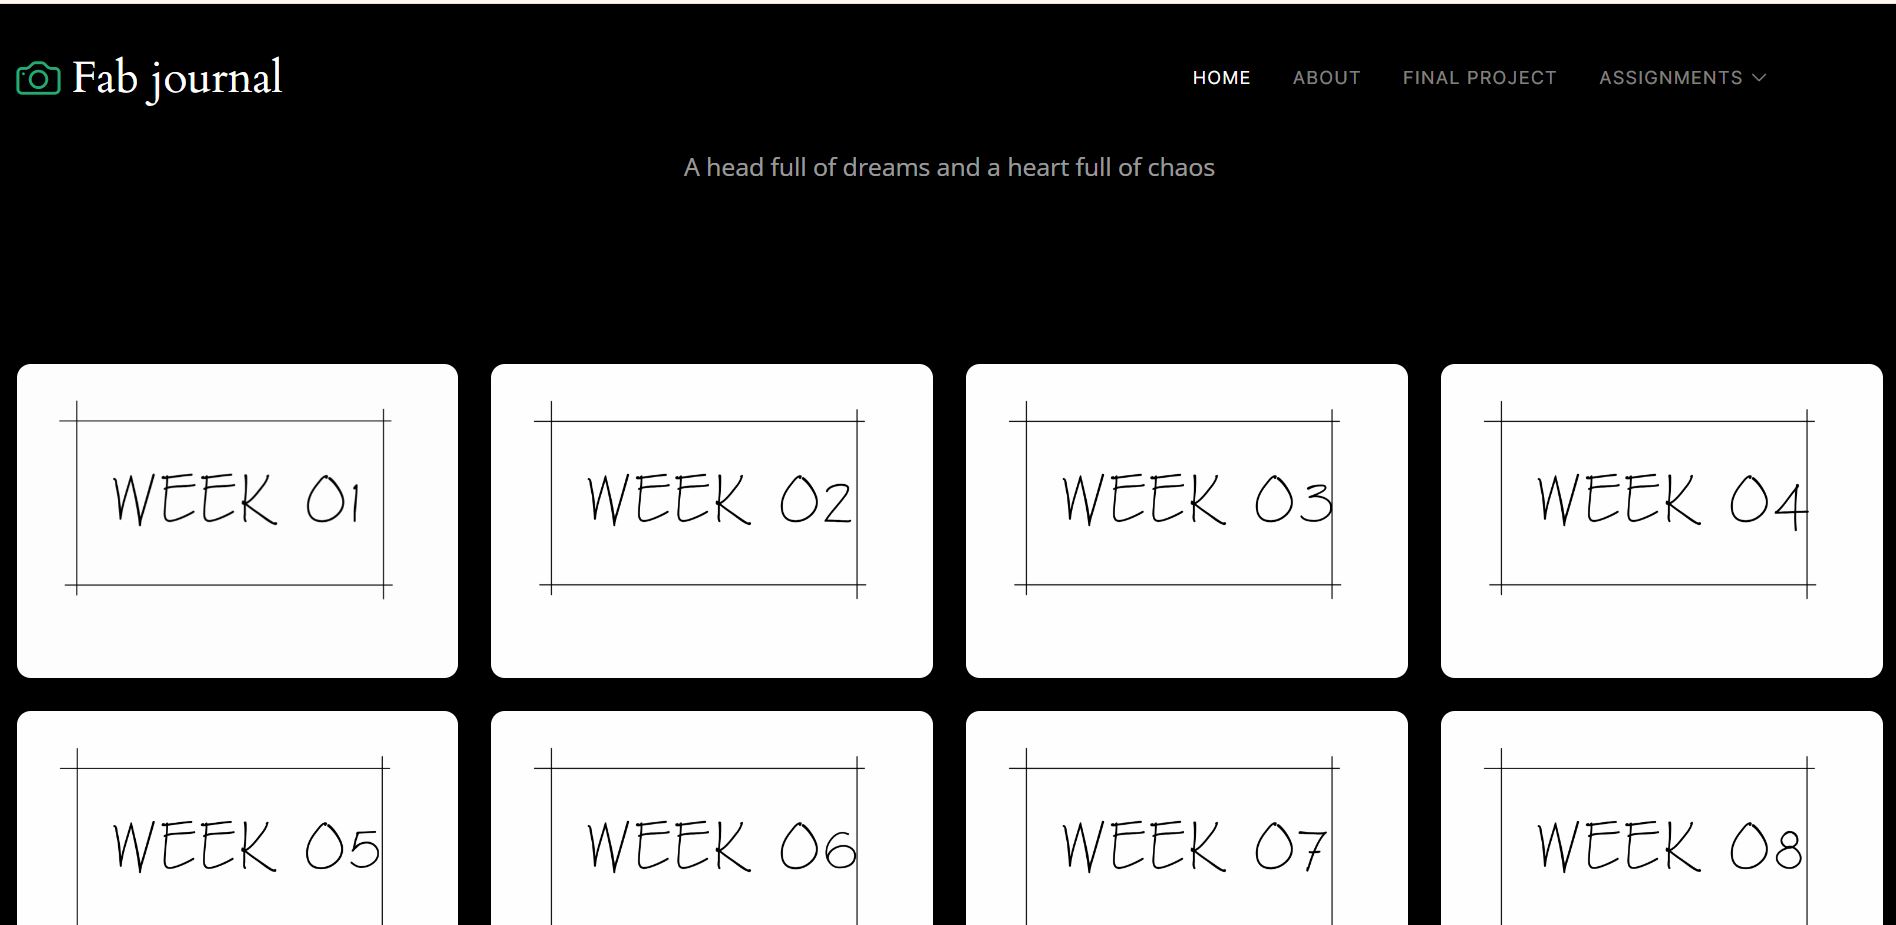
Later I found a template and adjusted it to accomodate my pages. This is what it looks like now
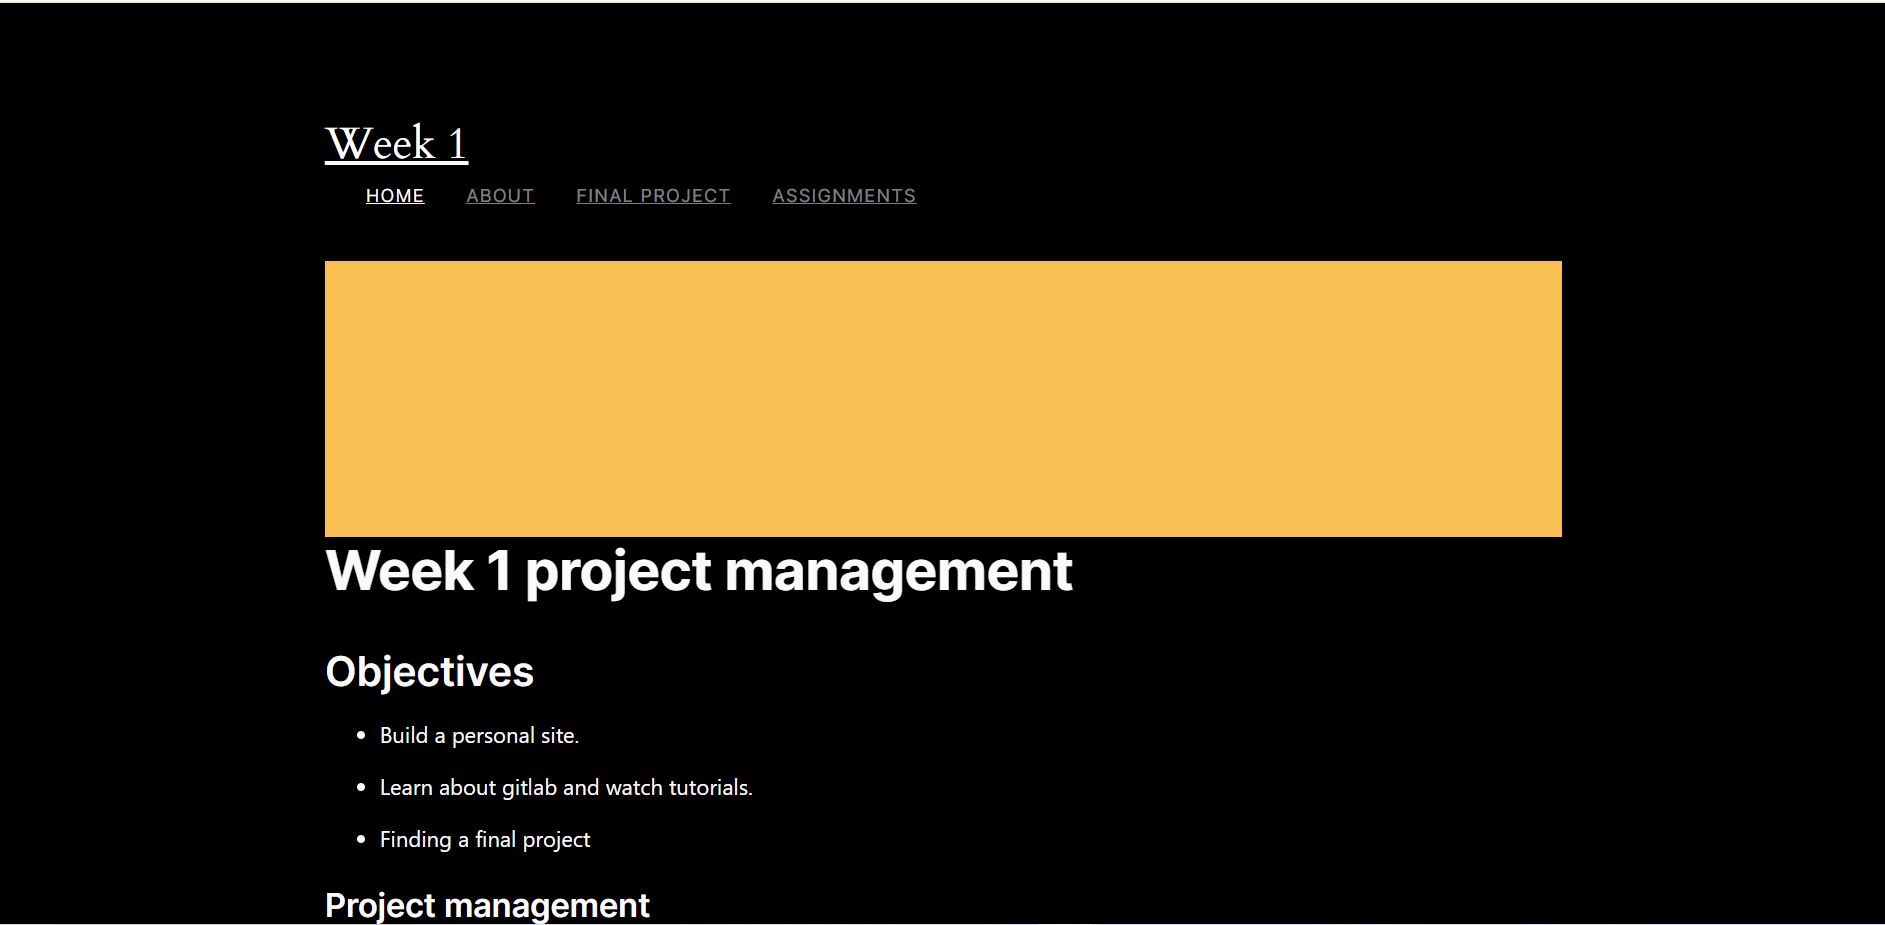
my assignments page
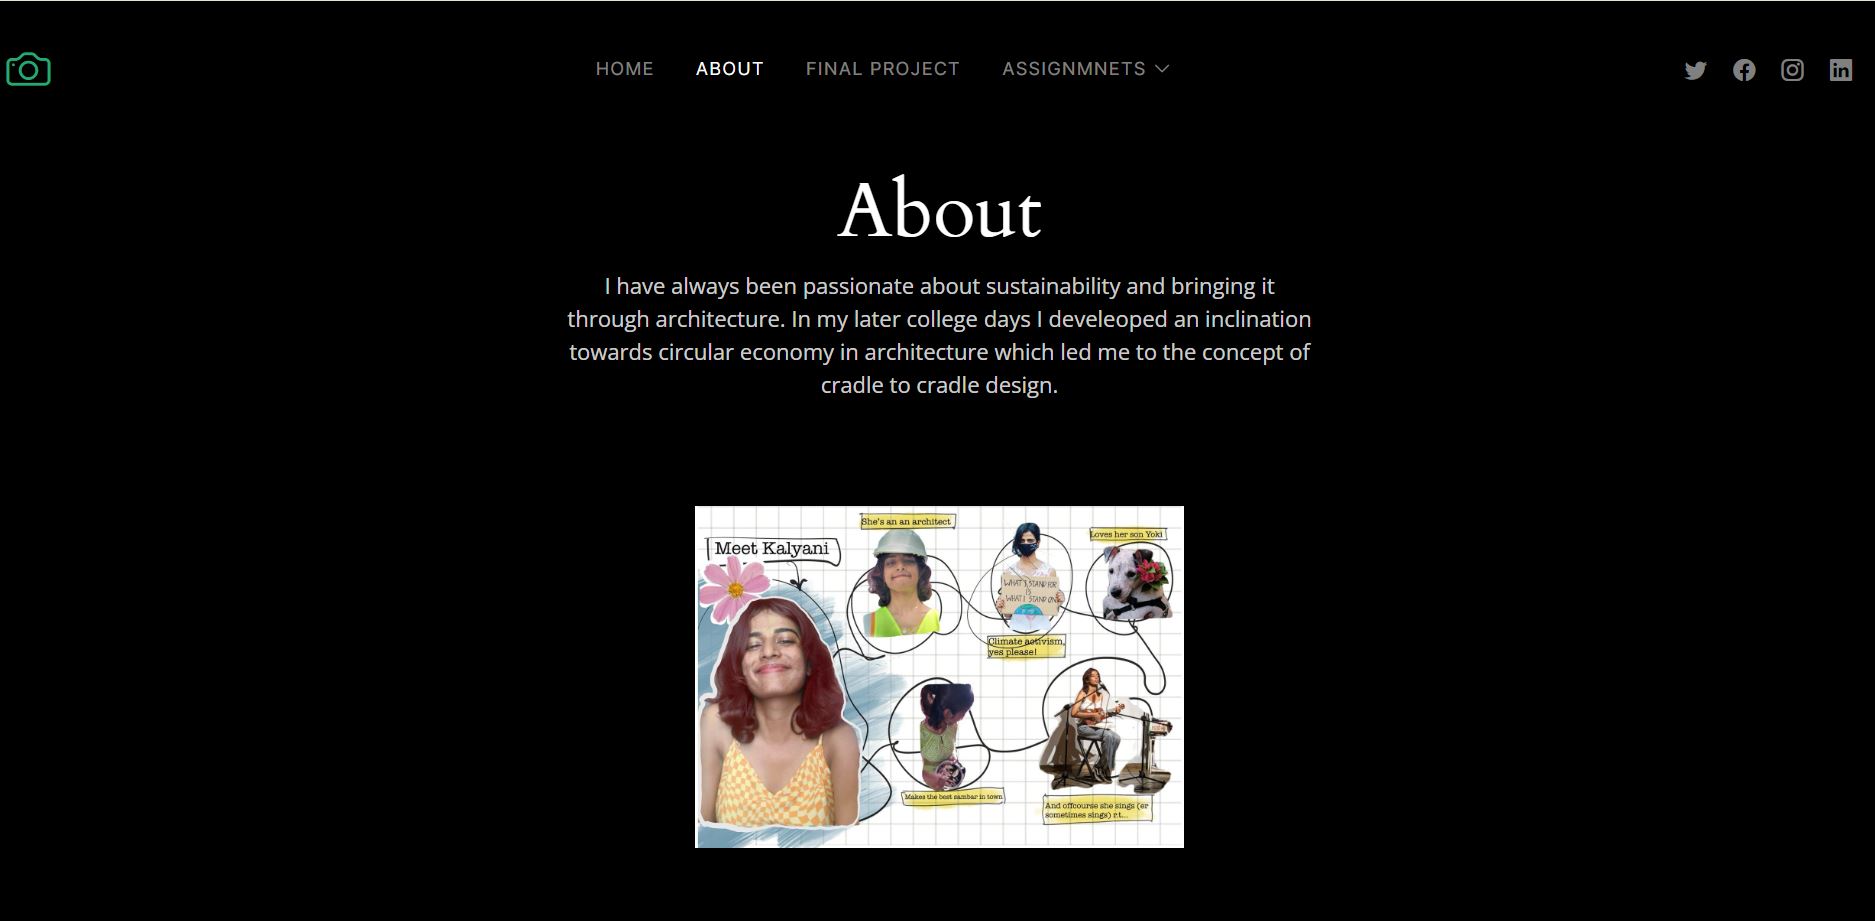
About page
here is the template that I used